Daikin R32 Split Series Руководство по установке - Страница 7

Просмотреть онлайн или скачать pdf Руководство по установке для Вентилятор Daikin R32 Split Series. Daikin R32 Split Series 17 страниц. R32 split series
Также для Daikin R32 Split Series: Руководство по установке (17 страниц), Руководство по установке (16 страниц), Руководство по установке (16 страниц), Руководство по установке (16 страниц), Руководство по установке (16 страниц), Руководство по установке (20 страниц), Руководство по установке (14 страниц), Руководство по установке (14 страниц), Руководство по эксплуатации (16 страниц), Руководство по эксплуатации (16 страниц), Руководство по эксплуатации (8 страниц), Руководство по установке (17 страниц), Руководство по установке (16 страниц), Руководство по установке (20 страниц), Руководство по установке (20 страниц), Руководство по установке (16 страниц), Руководство по установке (16 страниц), Руководство по установке (14 страниц), Руководство по установке (14 страниц), Руководство по установке (16 страниц), Руководство по установке (17 страниц), Руководство по установке (20 страниц), Руководство по установке (13 страниц)
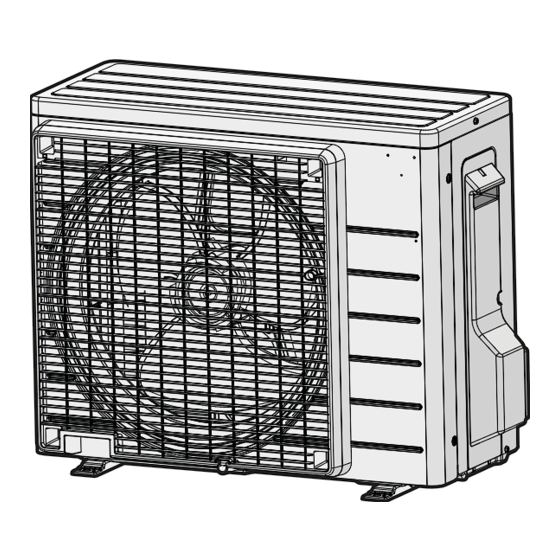
Daikin R32 Split Series Руководство по установке

INDOOR UNIT INSTALLATION

 As for the parts to be used for installation work, be sure to use the provided accessories and specified parts
designated by our company. 
 Install the indoor unit temporarily.
• Attach the hanger bracket to the suspension bolt. Be sure to fix
it securely by using a nut and washer from the upper and lower
sides of the hanger bracket. (Refer to the figure.)
[ PRECAUTION ]
Since the unit uses a plastic drain pan, prevent welding spatter
and other foreign substances from entering the outlet hole
during installation.
 Adjust the height of the unit.
 Check the unit is horizontally level.
Caution
Make sure the unit is installed level using a level or a plastic tube filled with water. In using a plastic tube instead of a level, adjust
the top surface of the unit to the surface of the water at both ends of the plastic tube and adjust the unit horizontally. (One thing
to watch out for in particular is if it is installed so that the slope is not in the direction of the drain piping, as this might cause
leaking.)
 Tighten the upper nut.
 Mounting the remote controller.
Refer to the "installation manual of the remote controller" supplied with remote controller.
For heat pump: If your feet feel cold when using the heating function, it is
recommended that the air discharge grille shown at below be
attached.
NOTE:
Installation shall be done by an installer, the choice of materials and installation shall comply with the applicable legislation. In
Europe the EN 378 is the applicable standard that shall be used.
English
[ Securing the hanger bracket ]
Part to be procured
in the field
Washer for
hanging bracket
(accessory)
Hanger
bracket
Tighten
(double nut)
Level
Vinyl tube
[ How to secure washers ]
Insert below
washer
Washer
fixing plate
(accessory)
45°
(Adjustable angle)
5