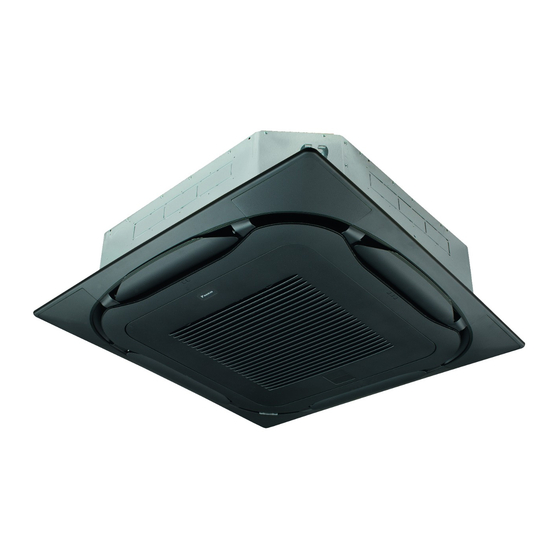
Daikin BYCQ140E2GFW1B Руководство по установке - Страница 8
Просмотреть онлайн или скачать pdf Руководство по установке для Очиститель воздуха Daikin BYCQ140E2GFW1B. Daikin BYCQ140E2GFW1B 16 страниц. Decoration panel provided with filter auto cleaning function self cleaning decoration panel

(6) Guide the lead wires through the hook.
1
1
Hook
2
Guide the wires through the hook
6-4
Fixing gaps between the decoration panel
and the ceiling
If there is any gap between the decoration panel and the ceiling, fix
the gap using the fixing holder (10) and screws (11) from the
accessories.
(1) Use the screw A to fix the fixing holder C on the panel.
(2) Use the screw B to fix the fixing holder C on the unit.
A
B C
4× 4×
4×
Note
Do NOT use an electric screwdriver to tighten the screws.
6-5
Attaching dust box
1
2
3
4
5
6
7
1
Engraved mark on piping side
2
Panel clasp
3
Engraved mark on drain side
4
Panel
5
Fall prevention cord
6
Dust box
7
Mount the dust box with the side where the mark is
engraved faced downward.
Installation manual
7
2
B
2×
C
A
4×
b
a
(1) Hook the fall prevention cord for the dust box to the panel
clasp as shown in the illustration.
1
Clasp
2
Hooked fall prevention cord
3
Panel
4
Fall prevention cord
5
Dust box
(2) Attach the dust box in the order opposite to the procedure in
"4-3 Removal of dust box" on page 3.
Note
Make sure that the fall prevention cord is not caught by the
exhaust opening on the dust box when attaching the dust box.
Otherwise, the dust box may not function normally.
(3) Turn the fixing knobs (in two points) of the dust box and secure
the dust box.
(The front side of the panel is shown
for ease of explanation.)
6-6
Mounting S-shaped pipe (accessory (3))
Mount the dust box side (engraved with A) before mounting the
brush side (engraved with B).
(Mount them so that the engraved characters will be in conformity.)
Brush unit
Make sure that
the engraved
characters are in
conformity with
each other.
Claws
(2 points)
Brush unit
2
Brush unit side
S-shaped pipe
(accessory (3))
Note
Check that the claws are engaged securely. Otherwise, a dust
collection failure may result.
BYCQ140E2GW1 + BYCQ140E2GFW1 + BYCQ140E2GFW1B
1
2
3
4
5
Fixing
knob
Fixing
knob
Dust box
Dust box
Dust box side
Claw
(1 point)
1
Make sure that the
engraved characters
are in conformity with
each other.
Self cleaning decoration panel
4P558847-1B 2019.02
