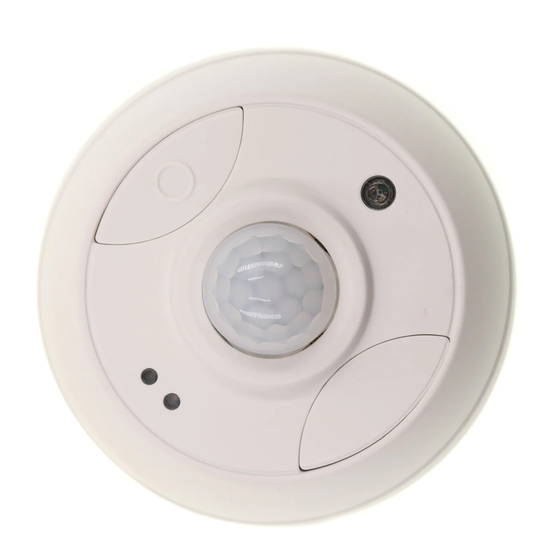
Daintree GE Current WOS2-RM Руководство по установке
Просмотреть онлайн или скачать pdf Руководство по установке для Аксессуары Daintree GE Current WOS2-RM. Daintree GE Current WOS2-RM 5 страниц. Wireless occupancy sensor, recess mount

Daintree
®
Sensor, Recess Mount
(WOS2-RM)
BEFORE YOU BEGIN
Read these instructions completely and carefully.
Save these instructions for future use.
WARNING
Risk of electrical shock. Disconnect power before servicing or
installing product.
Install in accordance with National Electric Code and local codes.
The Daintree Networked Recess Mounted Wireless Occupancy
Sensor (WOS2-RM) is a battery-powered occupancy sensor
using passive infrared (PIR) sensing technology detect movement.
Using open, standards based ZigBee wireless communications,
the WOS2-RM reports real-time occupancy events to the control
system for various functions such as turning on lights or keeping
them on when movement is detected, and turning off lights
when a space is left vacant. The sensor's off-delay timer is user-
configurable from any location using the Daintree Controls
Software (DCS) web-based control application, eliminating
the need for on-site, manual sensor adjustment.
The WOS2-RM-S provides the standard coverage area, 500sf
with a 360 degree (lateral) coverage. The WOS2-RM-E provides
an extended coverage area of up to 1000sf.
• Keep the sensor lens clean. Avoid touching the sensor lens.
• After first-time installation or reinstallation of a new
battery, allow up to three minutes for initialization.
• CAUTION: the WOS2-RM is not intended for air handling
applications.
Occupancy
Sensor
Lens
Utility
Button
Wireless Occupancy
Network LED
(green)
Infrared Detection
& Test Mode LED
(red)
CAUTION
Risk of injury. Wear safety glasses and gloves during installation and
servicing.
Recessed Box
1
Installation Process
1. Determine the mounting location for the sensor based
on the desired occupancy coverage. See Sensor Placement.
2. Remove the sensor from the recessed box by twisting it.
Locate the sensor's IEEE address on the label inside the
box. Record the IEEE address in the sensor's location on
the facility floor plan or relay schedule.
3. Cut a 4-inch diameter (100mm) hole in the ceiling for the
recessed box.
Installation Guide
WOS2-RM | DT107
