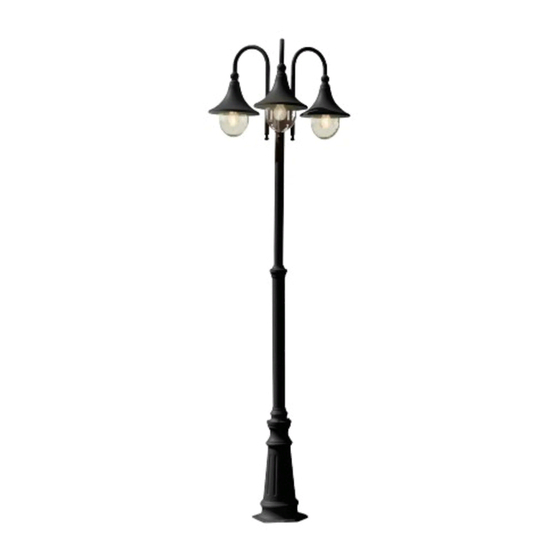
Anslut 422-180 Руководство по эксплуатации - Страница 16
Просмотреть онлайн или скачать pdf Руководство по эксплуатации для Осветительное оборудование Anslut 422-180. Anslut 422-180 16 страниц. Lamp post

EN
Base
1.
Dig a hole with an even bottom in packed soil, size 25 x 25 x 14 cm (l x w x h).
2.
Pull the power cords through the bottom of the hole and 25 cm above ground level.
3.
Pour 4 cm of ready-mixed cement into the hole. While the cement is wet, position the anchor
rods (B) vertically and the support (A).
4.
Fill with cement up to 10 cm. Fix the anchor rods (B) in position using the support (A). Fix the
rods so that they are completely vertical and parallel to one another.
5.
Top up with cement to ground level.
6.
Make sure the anchor rods fit the lamp post base (C). If not, rotate the rods to the correct
position and, if necessary, top up with more cement.
7.
Secure the lamp post to the anchor rods when the cement has set.
Lamp
1.
Mount the lamp post (D) on the base (C) and tighten using the screws (J2). Mount the bulbs
(F) on the lamp post (D) and tighten using the screws (J3).
2.
Remove the post head (H) and connect the lamp wires to the existing wires (figure 1). Make
sure you connect brown (live) to brown, blue (neutral) to blue and green/yellow (earth) to
green/yellow. Then pass the wires through the lamp post (D)
3.
and connect to the existing terminal blocks.
4.
Mount the lamp post on the anchor rods (B) and tighten using a nut and washer (J1).
Replacing the bulb
1.
Turn off the lamp.
2.
Unscrew the lamp shade.
3.
Unscrew the old bulb when it has cooled sufficiently.
4.
Do not touch the new bulb with your bare hands.
5.
Carefully screw in the new bulb.
6.
Screw the lamp shade back into position.
16
