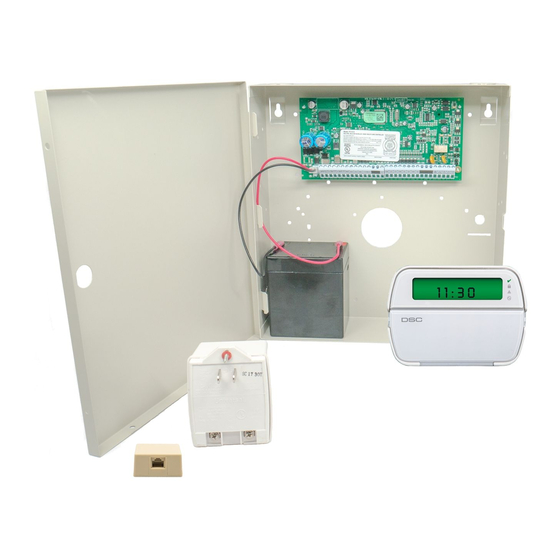
DSC PowerSeries PC1864 Руководство по установке - Страница 7
Просмотреть онлайн или скачать pdf Руководство по установке для Панель управления DSC PowerSeries PC1864. DSC PowerSeries PC1864 17 страниц. System
enhancement
module
Также для DSC PowerSeries PC1864: Руководство по установке (13 страниц), Руководство по установке (20 страниц), Руководство (18 страниц)

Trouble
Trouble [2] AC Failure
Trouble [3] Telephone Line Trouble
Trouble [4] Failure to Communicate
Trouble [5] Zone Fault
Cause
No AC at panel AC input
terminals
Phone Line Voltage at TIP, RING on
main panel less than 3V
DC
Panel fails to communicate one or
more events to central station
Press [5] to determine specific zones with a fault trouble
Open circuit is present on one or
more fire zones on the main panel or
zone expander
An open circuit is present on PGM2
being used as a 2-wire smoke
detector input
Troubleshooting
Verify voltage measured across AC terminals is 16-18V
Replace transformer if required.
•
Measure the voltage across TIP and RING on the panel:
• No phone off-hook – 50V
• Any phone off-hook – 5V
•
Wire incoming line directly to TIP and RING.
• If trouble clears, check wiring or the RJ-31 phone
jack.
Connect a headset to TIP and RING of the control panel.
Monitor for the following conditions:
•
Continuous dial tone
• Reverse TIP and RING
•
Recorded operator message comes on
• Verify correct phone number is programmed
• Dial the number programmed using a regular
telephone to determine if a [9] must be dialed or if
800 service is blocked.
•
Panel does not respond to handshakes.
• Verify the format programmed is supported by the
central station.
•
Panel transmits data multiple times without
receiving a handshake
• Verify that the account number and reporting codes
are correctly programmed.
NOTE:
Contact ID and Pulse formats
•
Program a HEX [A] to transmit a digit [0]
SIA format
•
Program a digit [0] to transmit a digit [0]
•
Ensure fire zones have a 5.6K resistor (Green, Blue,
Red) connected.
•
Remove the wire leads from Z and COM terminals and
measure the resistance of the wire leads.
• An open circuit indicates a break in the wiring or
resistor not connected.
•
Connect a 5.6K resistor (Green, Blue, Red) across the Z
and COM terminals. Verify the trouble condition clears.
•
Ensure the correct 2.2K end-of-line resistor is con-
nected (Red, Red, Red).
•
Remove the wire leads from PGM2 and AUX+ terminals
and measure the resistance of the wire leads.
• An open circuit indicates a break in the wiring or no
resistor connected.
•
Connect a 2.2K resistor (Red, Red, Red) across the
PGM2 and AUX+ terminals. Verify the trouble condition
clears.
.
AC
(approx)
DC
(approx)
DC
