DSC PowerSeries Сводная таблица продуктов - Страница 4
Просмотреть онлайн или скачать pdf Сводная таблица продуктов для Блок управления DSC PowerSeries. DSC PowerSeries 20 страниц. Telephone interface & automation control module
Также для DSC PowerSeries: Руководство пользователя (20 страниц)

Escort5580TC and EMS-100 – Setting Temperatures
Application:
This application will describe how the user can select the temperature set points for the
different Occupancy Settings (Day Setting, Night Setting, Away Setting and Aux
Setting), using a touch tone telephone, the LCD keypad or the EMS-100 thermostat.
Equipment:
-
Power 832 v2.x or greater
-
LCD5500 v2.1 or greater (optional)
-
Escort5580TC Module
-
EMS-100 Thermostat
-
EMS-ITS Internal Temperature Sensor (optional)
-
EMS-OTS Outdoor Temperature Sensor (optional)
Special Notes:
1. The Application Note assumes that the EMS-100 will be used to control both heating and cooling.
2. The user cannot 'temporarily' change the temperature. Any time the user manually changes the
temperature set point for an Occupancy Setting, it will change to the new setting.
Program Sections:
Programming the Temperature Set Points for an Occupancy Setting via the EMS-100
The EMS-100 uses symbols to display the present Occupancy Setting (Day = sun, Night = moon; Away =
house and cloud, AUX = house only). The [Day/Night] key will allow the user to toggle between Day and
Night Occupancy Settings or Away and Aux Settings.
Note -
The [Day/Night] key on the EMS-100 is limited to changing between two Occupancy settings
only (Day/Night or Away/Aux). If the unit is in Day or Night Occupancy Setting, the [Day/Night]
key will toggle between the two. If the EMS-100 is in Aux or Away Occupancy Setting, the
[Day/Night] key will toggle between the two.
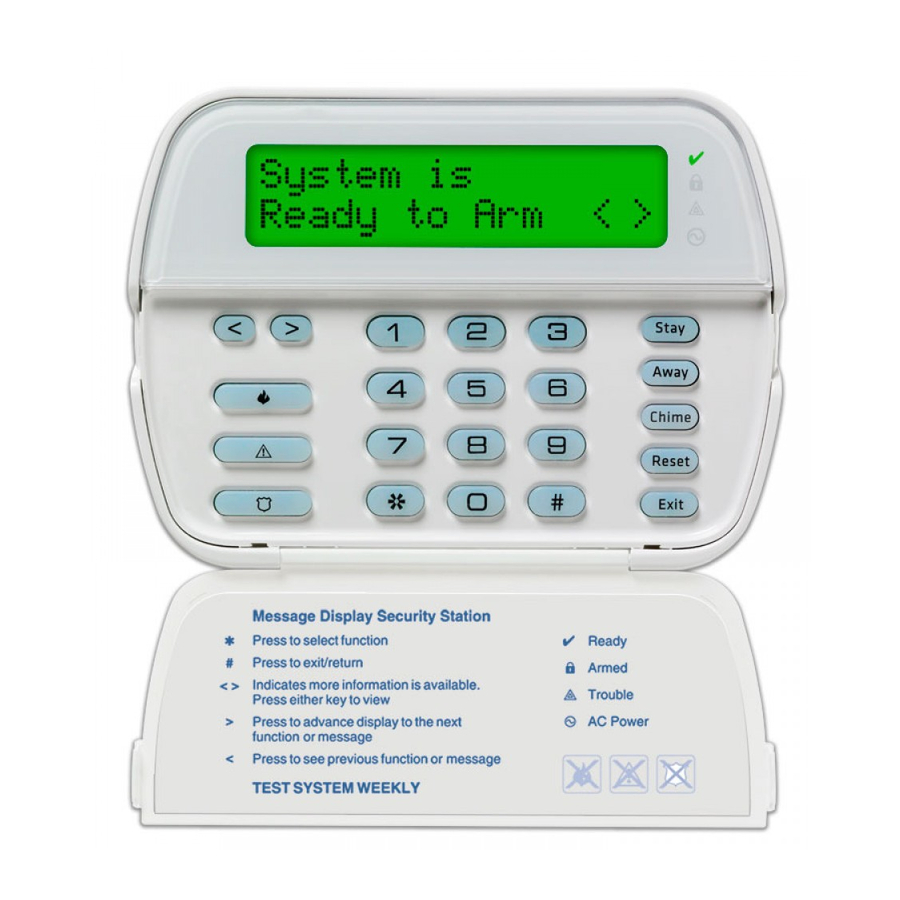
The Escort and LCD keypad allow you to change between all four Occupancy Settings. To set the heating
and cooling temperatures for a Setting, perform the following functions on the EMS-100:
1. Press the [Day/Night] key and ensure the unit the correct Occupancy Setting is displayed.
2. Press the [Setting] key until the word COOL is displayed (small snowflake).
3. Use the [Up]/[Down] arrows to set the temperature that cooling should begin.
4. Press the [Setting] key until the word HEAT appears (small flame).
5. Use the [Up]/[Down] arrow keys to set the temperature that heating should begin.
6. Press the [Setting] key until the word AUTO appears (small snowflake and small flame).
None
