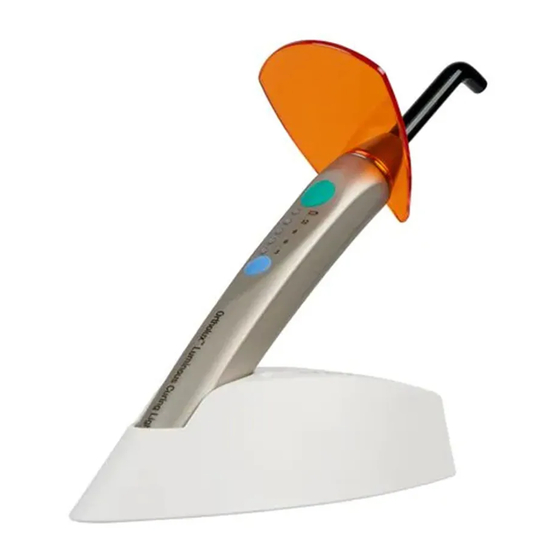
3M Unitek Ortholux Luminous Curing Ligh Руководство по эксплуатации - Страница 8
Просмотреть онлайн или скачать pdf Руководство по эксплуатации для Медицинское оборудование 3M Unitek Ortholux Luminous Curing Ligh. 3M Unitek Ortholux Luminous Curing Ligh 16 страниц. Fast curing cordless led light

• T he recommendations are applicable with 100%
light output intensity, measured at the intensity test
area on the charging base.
• A technique tip for faster light curing of metal
brackets is to position the light guide interproximal
to two brackets. In order for the bracket to fully
cure, both sides of the bracket must be exposed to
the light.
- Keep the light guide clean at all times to
obtain full light intensity. Cured primer/
adhesive on the light guide will reduce the
intensity resulting in incomplete cure.
- Damaged light guides substantially reduce
the light intensity and must be replaced
immediately, sharp edges may cause
serious injury!
NOTE: Holding the light away from the tooth, moving
the light guide and turning the light guide tip at an
angle may cause incomplete cure of the material.
Sleep Mode
Once the handpiece is placed in the charger, all
internal functions and LEDs are automatically turned
off as the handpiece switches to sleep mode. This
reduces the power consumption of the battery to a
minimal level. Outside the charger, the handpiece
is also switched to sleep mode if it is not used
for approximately 5 minutes. See "Activating the
Handpiece" to wake up the unit.
Measurement of Light Intensity
The light intensity of the Ortholux Luminous Curing
Light handpiece can only be reliably determined
using the light intensity testing area on the Ortholux
Luminous Curing Light charger! The circular testing
area is located below the Status LED on the charger.
Measurements carried out using other units will
produce incorrect results due to the different
light sources and the varying arrangement of the
components of the units.
NOTE: The light intensity is independent of the
battery charge level.
Caution!
• Clean the testing area with a damp cloth.
• Without applying pressure, place the light guide
on the testing area such that the light-emitting
opening of the light guide is flush with the
testing area.
• Activate the lamp by pressing the START button.
- The number of illuminated LEDs on the
• If the light intensity is below 80% (fewer
than 3 LEDs are ON), check the light guide
and handpiece for contamination or defects.
• Remove and clean the light guide of any
contamination. Replace a defective light guide
with a new light guide. If the measures described
above do not result in any improvement, call
3M Unitek Customer Service.
Acoustical Signals - Handpiece
An acoustical signal is emitted
• every time a button is pressed
• every time the light is turned ON or OFF
• 1 time after 3 seconds exposure time, 2 times
after 6 seconds, 3 times after 9 seconds
Exception: in Extended Mode; an acoustical
signal is emitted every 3 seconds
• every time the sleep mode is terminated by
pressing the START button.
A 2 second-error signal is emitted, if
LEDs showing
• the handpiece overheats
light intensity
• the battery lacks sufficient charge
Testing area
The acoustical signals from the handpiece can
be turned off (except for the 2-second error signal).
Put the handpiece in sleep, e.g., by setting it in the
charger. Take the device from the charger; press
the TIME button, then press the START button. This
changes the sleep mode of the handpiece back to
active and the status "Acoustical signals activated"
to "Acoustical signals deactivated". The acoustical
signals can be reactivated by following the
same procedure.
charger is indicative of the measured light
intensity: 5 LEDs = 100%, 4 LEDs = 90%, 3
LEDs = 80%, 2 LEDs = 70%, 1 LED = 60%.
English
8
