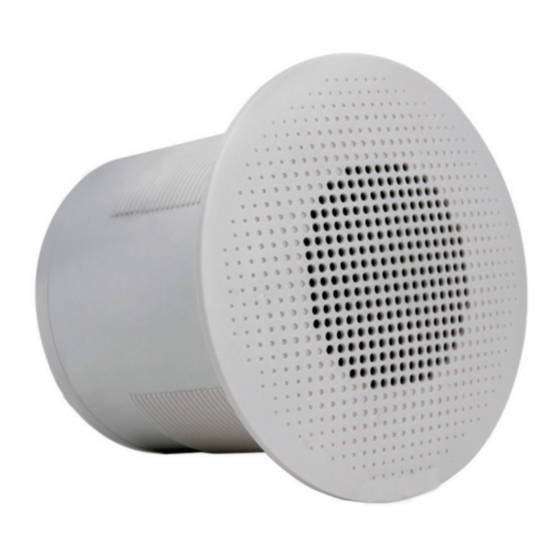
DSPPA AUX166B Руководство пользователя - Страница 4
Просмотреть онлайн или скачать pdf Руководство пользователя для Динамики DSPPA AUX166B. DSPPA AUX166B 4 страницы. Ceiling speaker

Installation and Connection
The manual provides three installation methods. Please choose the following
based on the product model.
Method 1 (Screw coil installation, suitable for AUX166A)
①
Cut a 105-110mm installation hole on the ceiling (as shown below).
②
Remove the screw coil, put the speaker into the ceiling, and tighten the
screw coil and the speaker.
Method 2 (Clamps installation, suitable for AUX166B)
①
Cut a 125-130mm installation hole on the ceiling (as shown below).
3
③
Turn up the clamps of the speaker and insert them into the installation
hole on ceiling and then release them as shown below. Put on your
gloves for safe is recommended .
Method 3 (Hanger installation, suitable for AUX166C)
①
Install the hanger on the wall in an appropriate position, fix the speaker on
the hanger with two screws, and adjust it to an appropriate angle (as shown
below).
②
Finally, examine whether it is steady.
4
