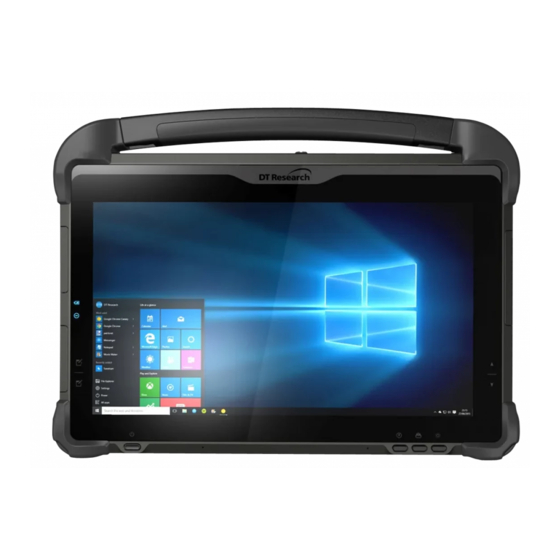
DT Research DT311YR Руководство по эксплуатации - Страница 2
Просмотреть онлайн или скачать pdf Руководство по эксплуатации для Планшет DT Research DT311YR. DT Research DT311YR 4 страницы.

A
B
C
F
1
2
Input/Output Ports
Headphone Jack
A
LAN Port
B
USB 3.0 Port
C
Button Functions
BUTTON
ACTION
Power Button
1
2
Programmable Buttons
Battery Latch
3
*Push the switch up to unlock the latch, then slide the latch left to remove the battery.
2
D
E
2
3
Brightness
Control buttons
Smart Card Reader
D
DC-In Jack
E
F
USB Type-C
PRECAUTIONS
•
Always exercise care when operating and handling the DT311YR.
•
Do NOT apply excessive pressure to the display screen.
•
We recommend using the Digital Pen (optional) to keep the screen clean.
•
Avoid prolonged exposure of the display panel to any strong heat source.
Wherever possible, the DT311YR should face away from direct light to reduce
glare.
•
If the AC-DC power adapter is used to recharge or power the tablet, do NOT
use any AC-DC adapter other than the one provided or acquired from the
manufacturer or its partners.
•
In the unlikely event that smoke, abnormal noise, or strange odor is present,
immediately power off the DT311YR and disconnect all power sources. Report
the problem to your device provider immediately.
•
Never attempt to disassemble the DT311YR, as this will void the warranty.
NOTE:
To obtain protection consistent with any IP rating for the device, the I/O (audio,
power, USB, card reader, etc.) port doors must be closed. If the IP protection is
compromised by mishandling or misuse, such as by leaving port doors open or
improperly closed, any resulting product damage will not be covered under any
DT Research warranty.
BASIC FEATURES
The DT311YR rugged tablet integrates a bright display, USB ports, and embedded
networking elements such as wireless LAN or optional 4G.
A DT311YR typically integrates an 802.11ac wireless LAN (WLAN) adapter that may
connect to other wireless devices or access points. If your DT311YR does not come
with such a network adapter, please consult your device provider to establish the
desired network connectivity.
3
