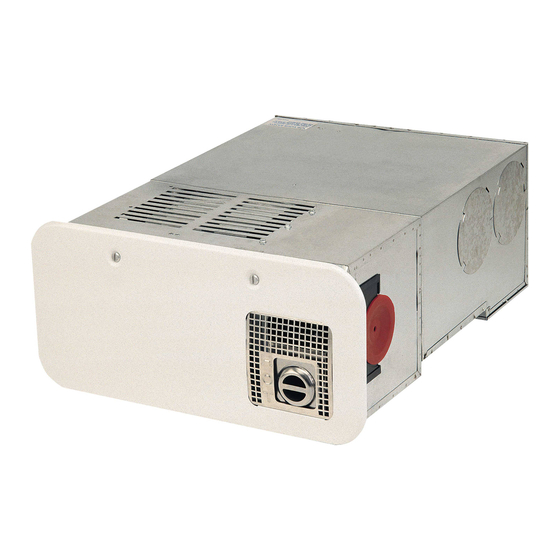
Atwood hydro flame 8900-III series Информационный справочник - Страница 4
Просмотреть онлайн или скачать pdf Информационный справочник для Печь Atwood hydro flame 8900-III series. Atwood hydro flame 8900-III series 16 страниц.
Также для Atwood hydro flame 8900-III series: Техническое руководство по установке (12 страниц)

POSSIBLE INJURY OR DEATH
It is imperative that the products of combustion be properly vented
to atmosphere and that all combustion air supplied to burner is
drawn from outside atmosphere.
CARBON MONOXIDE POISONING
Doors must be properly sealed and draft cap and assemblies
•
must be adjusted and sealed correctly to prevent carbon
monoxide from entering coach.
Combustion air must NOT be drawn from within any living
•
area.
DO NOT vent exhaust into living area or outside into an
•
enclosed porch area.
DO NOT vent any other appliance with venting systems
•
serving the furnace.
DO NOT allow snow or any objects to block exhaust system
•
of furnace.
1.
Inspect furnace installation and vent termination to be sure
furnace is properly secured in place, that vent terminates to the
atmosphere, and that vent tubes overlap properly and vent is tight
against outer door screen. (See installation manual supplied with
furnace). All exhaust system tubes must overlap no less than 1-
1/4". All air intake tubes must overlap no less than 1/2" and be
positioned for proper function.
2.
Inspect chamber and venting to assure that these components
are physically sound, without holes or excessive corrosion and
that the installation and/or reinstallation are in accordance with
Atwood Mobile Products Installation Instructions. (Reference
Installation Manual supplied with furnace.)
3.
Check the base on which furnace is mounted. Be sure it is
physically sound, void of any sagging, deterioration, etc.
4.
Inspect furnace, the venting, ducting and the gas piping to furnace
for obvious signs of deterioration. Correct any defects at once.
Always verify proper operation of furnace after servicing.
5.
Do not allow flue gas exhaust to have extended contact with
exterior sidewall of recreation vehicle. It will cause the material to
degrade over time.
6.
You, as the owner/user, should inspect the furnace monthly
during the heating season for presence of soot on vent. Operating
the furnace under this condition could lead to serious property
damage, personal injury or loss of life. If soot is observed on the
vent, immediately shut furnace down and contact a qualified
service agency.
FIRE OR EXPLOSION
Use the correct gas specified for you furnace.
•
Only a qualified Service Technician may convert an
•
8900 series furnace from LP to NAT or NAT to LP.
GAS CONVERSION
All models, except the 8900 AC Series, are designed for LP GAS
ONLY and cannot be converted to natural gas. To verify the setting of
your furnace, open furnace door and check the model number on the
label, (see table below). Use only the type of gas your furnace has
been set for.
Model
Gas Type
All 7900
LP ONLY
All 8012
LP ONLY
All 8500
LP ONLY
WARNING
WARNING
WARNING
Model
Gas Type
8900 DC
LP ONLY
8900 AC (LC)
LP or NAT
LC = LP Convertible Unit
AC model units come equipped with a convertible gas control.
•
Each unit is supplied with two main burner orifices. One will be in
•
place; the other will be attached to the blower housing cover.
Each orifice will be clearly marked with a drill size as shown
•
below.
The pressure settings of the convertible valve are set for natural
•
gas NAT 3.5" WC or LP 10.5" WC and are not adjustable.
Use Loctite* #RC609 or some other thread lock sealant on orifice
•
threads when installing a new orifice.
A 1/8" NPT plug is provided upstream of gas connections for
•
checking gas pressure.
GAS
BTU/HR
TYPE
Propane
40,000
(LP)
Natural
40,000
(Nat)
Propane
35,000
(LP)
Natural
35,000
(Nat)
*WC= Water Column
VALVE CONVERSION
1.
See drawing to check exposed section on side of adjustment reg.
plug to determine whether it is set for natural or propane. NAT
stamped on one end and LP stamped on the other end of plug.
The types of gas in use will be showing right side up when
installed.
2.
Unscrew plug and remove from valve reg. tower. DO NOT
remove rod from inside the reg. tower or make any adjustments.
A.
When set for LP and NAT is required: Unscrew plug and
replace plug into tower with NAT in up position. NAT should
now be visible. Finger tighten plug or with small wrench.
DON'T over tighten.
B.
When set for NAT and LP is required: Unscrew plug and
replace plug into tower with LP in up position. LP should now
be visible. Finger tighten plug or with small wrench. DON'T
over tighten.
3.
This plug has been factory calibrated for this valve only. DO NOT
modify and DO NOT use plug on any other valve.
4.
Install the correct main burner orifice per the chart.
ORIFICE REPLACEMENT
1.
Remove rain shield by removing one screw from combustion
cover and tilting rain shield 45° to the right and removing.
2.
Remove burner assembly by removing three screws from back
wall of control box.
3.
Remove two screws holding the burner to the manifold.
4.
Unscrew the orifice with a 7/16" wrench or socket and replace
with the correct orifice per the chart corresponding to type of gas
required, which corresponds to the regulator plug setting.
5.
Replace two screws holding burner to manifold.
6.
Reinstall the burner assembly and put the three screws back into
the control box wall.
4
LINE
REG. PLUG
PRESSURE
SETTING
11" WC
10.5" WC
7" WC
3.5" WC
11" WC
10.5 WC
7" WC
3.5" WC
DRILL
SIZE
49P
30N
51P
32N
