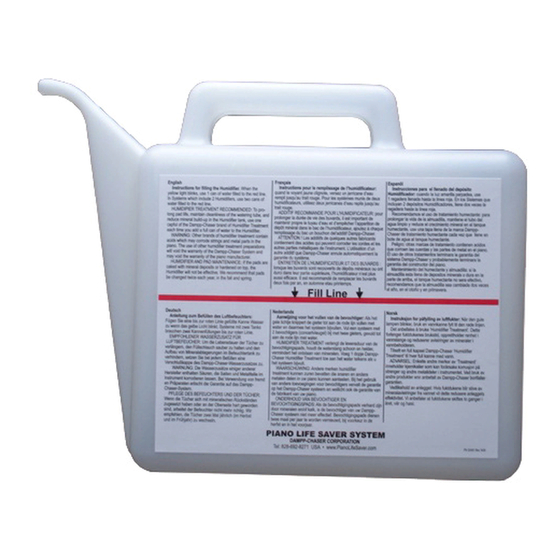
DAMPP-CHASER Piano Life Saver System Руководство по установке - Страница 4
Просмотреть онлайн или скачать pdf Руководство по установке для Аксессуары для музыкальных инструментов DAMPP-CHASER Piano Life Saver System. DAMPP-CHASER Piano Life Saver System 9 страниц. Backside vertical 8-part system which includes two humidifiers
Также для DAMPP-CHASER Piano Life Saver System: Инструкции по установке (4 страниц), Руководство по установке (8 страниц), Инструкции по уходу и обслуживанию (2 страниц)

STEP 1-A. SUSPENDING THE HUMIDIFIER TANK
ABOVE TRAPWORK
In some pianos, the trapwork prevents placing the Humidifier
tank in the bottom, and you will need to suspend the tank
above the trapwork (Figure 4).
When the position of the tank has been determined, center the
Moisture Distribution Baffle over the tank position. Then, mount
the Baffle according to the instructions in STEP 2.
Y hangers and screw hooks are used to suspend the tank
(Figure 5). First, attach the Y hangers to the inside of the tank
using the screws at the four corners of the tank. Loosen the
screws which are already on the tank. These screws do not
require wing nuts to secure them because they are self-locking
and will not loosen. If necessary, enlarge the holes in the liner
to drive the screws in.
Screw the hooks through the Baffle about 35 cm apart.Hang the
Humidifier as low as possible above the trapwork. To achieve
the proper height for the tank, it may be necessary to cut the Y
FIGURE 4
Suspended Humidifier tank
Attach the baffle using the
Velcro on each end. Peel
off the clear covering and
press to keybed.
Baffle affixed to keybed
with pin pegs
Pianos with
metal keybeds
FIGURE 7
hangers' top legs with your wire cutters. Note that the Dehu-
midifier will be installed approximately 20 cm above
the Humidifier.
STEP 2. MOISTURE DISTRIBUTION BAFFLE
INSTALLATION
Now, with the Humidifier in place you can install the Moisture
Distribution Baffle. Attach the baffle under the keybed so that it
is centered directly above the Humidifier tank. You may need to
use your scissors to make one or more cutouts in the baffle to
ensure that it clears any plate struts above it. You will need two
pin pegs (Figure 6) from the hardware kit. Push them through
the baffle and into the keybed about 15 cm from either end of
the baffle (Figure 7). A small hammer can be used to set the
pin pegs. On metal keybeds, use the Velcro to attach the baffle
(see below).
Properly installed, the baffle should not touch the strings nor
should it protrude above the bottom panel of the piano. The
crease should be up like a roof ridge to distribute the moist air
(Figure 8).
Screw
hooks
FIGURE 6
Pin Peg
4
Y bracket
goes inside
tank and is
anchored by
screws
FIGURE 5
Attaching Y brackets
to the Tank
BAFFLE
TANK
FIGURE 8
Side view of installed baffle
