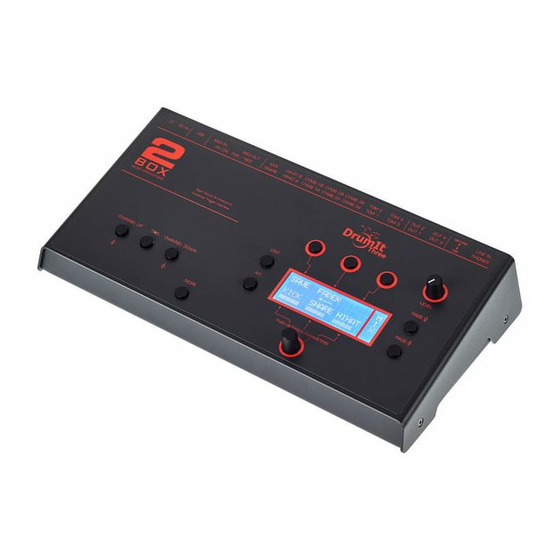
2Box Drumit Three Краткое руководство по эксплуатации - Страница 10
Просмотреть онлайн или скачать pdf Краткое руководство по эксплуатации для Барабаны 2Box Drumit Three. 2Box Drumit Three 20 страниц.
5.
Start the calibration process:
5.1. Press the leftmost DATA button once. A closed hi-hat icon appears in the
display and starts flashing.
5.2. Close the hi-hat pad or press the controller's pedal with your foot.
5.3. Press the leftmost DATA button a second time. An open hi-hat icon
appears in the display and starts flashing.
5.4. Open the hi-hat pad or remove your foot from the pedal.
5.5. Press the leftmost DATA button yet again to exit the calibration function.
5.6. The display shows "done". The hi-hat has been successfully calibrated. If
the message "NoChg" is displayed instead, the calibration could either not
be performed or was repeated with the exact same settings. If the
calibration routine failed, start by repeating steps 1~4 and then calibrate
your hi-hat again.
6.
If the calibration was successful, you can now check whether the hi-hat
responds to your playing as expected. If you are not happy with the response,
either repeat the calibration steps or fine-tune the following parameters.
PFACT Increase this value to raise the calibration threshold. This is useful
for a consistent "foot chick" (pedaled hi-hat) and "foot splash"
(quick release of the pedal after a chick) sound. We recommend
taking your time to find the setting that you are most comfortable
with.
POFF
This parameter allows you to change the hi-hat's calibration
range: higher values extend the range, while lower values narrow
it down. Bear in mind that changing this setting also affects the
PFACT setting. We recommend editing this parameter only once
you are thoroughly familiar with the system.
Note:
When using a 2BOX pad, the function of the two parameters is
exactly inversed.
7.
Another important aspect is the hi-hat channel's trigger response. This can be
set using the relevant menu items (see the downloadable User Manual for
details).
10 / 20