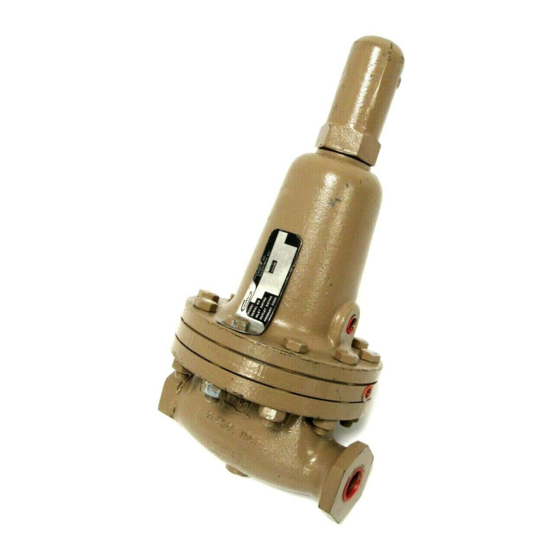
cashco 1000HP Руководство по установке, эксплуатации и техническому обслуживанию - Страница 9
Просмотреть онлайн или скачать pdf Руководство по установке, эксплуатации и техническому обслуживанию для Контроллер cashco 1000HP. cashco 1000HP 14 страниц. Cryogenic pressure reducing regulator
Также для cashco 1000HP: Руководство по установке, эксплуатации и техническому обслуживанию (17 страниц)

VII. TROUBLE SHOOTING GUIDE
1.
Erratic operation; chattering.
Possible Causes
Oversized regulator; inadequate rangeability.
A.
Worn piston/cylinder; inadequate guiding.
B.
C.
Flow induced instability.
Improper (oversized) jet.
D.
Plugged trim.
E.
2.
Regulator outlet (downstream) pressure too low.
Possible Causes
A.
Setpoint too low.
B.
Regulator undersized.
C.
Plugged inlet strainer.
Plugged trim.
D.
E.
Incorrect range spring (turning adjusting screw
CW does not allow bringing pressure level up to
proper level).
F.
Too much proportional band (droop).
G.
Restricted diaphragm movement. (pressure plate
hitting upstops)
Restricted diaphragm movement. (over-stretched
H.
diaphragm)
3.
Leakage through the spring chamber vent hole.
Possible Causes
A.
Normal-life diaphragm failure.
Abnormal short-life diaphragm failure.
B.
C.
Pusher plate gasket leaking.
IOM-1000HP-Cryogenic
SECTION VII
A1.
Check actual flow conditions, resize regulator for minimum and
maximum flow.
A2.
Increase flow rate.
A3.
Decrease regulator pressure drop; decrease inlet pressure by
placing a throttling orifice in inlet piping union.
A4.
Replace full orifice with reduced orifice; i.e. new cylinder required.
B.
Replace trim.
C1.
Get straight runs of piping (5 diameters upstream, 10 downstream)
to and from valve.
C2.
Ensure outlet velocity is not excessive; use pipe reducer close to
valve outlet.
C3.
Add next higher range spring.
D.
Replace existing piston with new piston with proper jet.
E.
Remove trim and check for plugged holes in piston, or debris in
guide zone or jet zone.
A.
Turn adjusting screw down (CW) to increase setpoint.
B1.
Confirm by opening bypass valve together with regulator.
B2
Check actual flow conditions, resize and if regulator has inadequate
capacity, replace with larger unit.
C.
Remove strainer screen and clean; consider leaving screen out.
D.
Remove trim and check for plugged holes in piston, or debris in
guide zone or jet zone.
E.
Replace range spring with proper higher range.
F1.
Review P.B. (droop) expected. (See 2.B1 above.)
F2.
Diaphragm setting too low; check and raise as required.
F3.
Improper jet; make sure jet matches actual fluid.
G1.
Diaphragm setting too high; check and lower as required.
G2.
Ensure no moisture in spring chamber at temperatures below freeze
point. Ensure no dust or debris entering vent opening. If rainwater
or debris can enter, re-orient spring chamber.
H1.
Diaphragm setting too low; check and increase as required.
H2.
Ensure no moisture in spring chamber at temperatures below freeze
point. Ensure no dust or debris entering vent opening. If rainwater
or debris can enter, re-orient spring chamber.
H3.
Ensure drain opening is clear of blockage.
A.
Replace diaphragm.
B1.
Can be caused by excessive chattering. See No. 1 to remedy valve
chatter.
B2.
Can be caused by corrosive action. Consider alternate diaphragm
material, or Option 1000-9, TFE diaphragm cover.
B3.
Downstream (outlet) pressure buildup occurring that overstresses
diaphragms.
C.
Replace gasket.
Remedies
Remedies
Remedies
9
