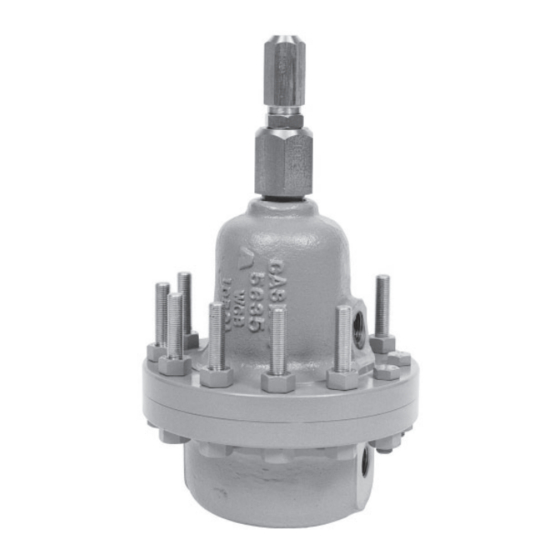
cashco 123-1+6+S Руководство по установке, эксплуатации и техническому обслуживанию - Страница 2
Просмотреть онлайн или скачать pdf Руководство по установке, эксплуатации и техническому обслуживанию для Контроллер cashco 123-1+6+S. cashco 123-1+6+S 10 страниц. Differential back pressure/relief regulator

DESCRIPTION
Max. Pressure for CS Body/Spg. Ch,
Max. Pressure for SST Body/Spg. Ch.
Operating Temperature Range -20°F (-28°C) to +400F (+204C)
IV. STARTUP
REFER TO THE COMPRESSOR/EXPANDER MANUFACTURER'S MANUAL FOR DETAILED STARTUP OF
THIS UNIT.
1. On initial start-up with your system op er at ing at
nor mal conditions, check the differential gauge to
ensure the desired differential pressure is being
maintained. If not, go to step 2 and make one final
ad just ment. (This should only be nec es sary on
first start-up.) NOTE: It is crucial that the adjusting
screw (17) threads not be dam aged. Do not use
pliers or locking pliers on the adjusting screw (17).
2. To adjust differential setting, use one of these two
methods:
a. Loosen the closing cap (22) by turning CCW
3-4 complete revolutions. Loosen lock nut (9)
V. SHUTDOWN
REFER TO THE COM PRES SOR/EXPANDER MAN U FAC TUR ER'S MANUAL FOR DETAILED SHUTDOWN OF
THIS UNIT.
VI.
MAINTENANCE
SYSTEM UN DER PRES SURE. Prior to performing any
maintenance, isolate the reg u la tor from the system and
relieve all pressure(s). Failure to do so could result in
personal injury.
A. General:
1. Maintenance procedures hereinafter are
based upon removal of the regulator unit from
the pipe line where installed.
2
MAX OPERATING PRESSURES & TEMPERATURE RATING SPECIFICATIONS
NPT and 1500# ANSI Flg.
100°F
(38°C)
psig
(Barg)
1500
(103)
1500
(103)
WARNING
TABLE 1
600# ANSI Flg.
400°F
100°F
(205°C)
(38°C)
psig
(Barg)
psig
(Barg)
1500
(103)
1480
(102)
1500
(103)
1440
(99)
SECTION IV
by turning CCW until it is tight (dou ble-nutted)
against closing cap (22). Now the differential
set ting may be adjusted by turning the closing
cap (22) CW to increase differential or CCW
to de crease. After desired setting is reached,
loos en lock nut (9) from clos ing cap (22) and
tighten each se cure ly to spring chamber (2).
b. Remove closing cap (22) from ad just ing screw
(17) by turning CCW. Loosen lock nut (9) by
turning CCW. Turn the adjusting screw (17)
CW to in crease differential pressure or CCW
to de crease. Tight en lock nut (9) and replace
clos ing cap (22).
SECTION V
SECTION VI
2. Owner should refer to owner's procedures for
re mov al, handling, cleaning and disposal of
non re us able parts, i.e. gaskets, etc.
3. Refer to Figure 5 for differential regulator
cutaway drawing.
SPRING UNDER COMPRESSION. Prior to re mov ing
spring chamber subassembly (2), relieve range spring
(18) com pres sion by back ing out the ad just ing screw
(17). Fail ure to do so may result in flying parts that
could cause per son al injury.
900# ANSI Flg.
400°F
100°F
(205°C)
(38°C)
psig
(Barg)
psig
(Barg)
1270
(88)
1500
(103)
995
(69)
1500
(103)
WARNING
IOM-123-1+6 +S DIFF
400°F
(205°C)
psig
(Barg)
1500
(103)
1500
(103)
