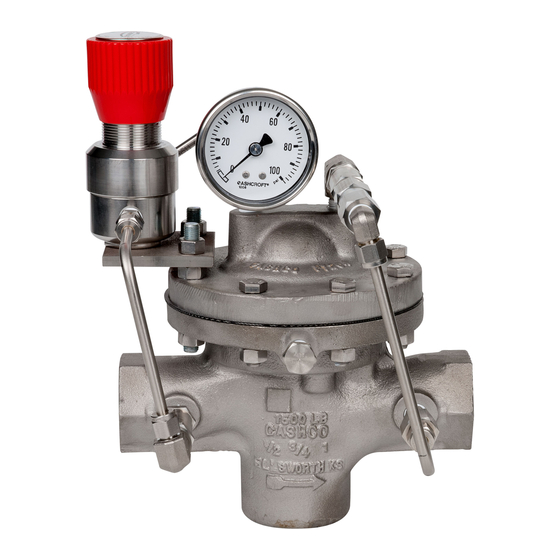
cashco SLR-2 Руководство по установке, эксплуатации и техническому обслуживанию - Страница 14
Просмотреть онлайн или скачать pdf Руководство по установке, эксплуатации и техническому обслуживанию для Контроллер cashco SLR-2. cashco SLR-2 18 страниц. Direct-acting, pressure loaded, pressure reducing regulator with non-relieving loader

6.
Leakage across seat.
Possible Causes
A.
Contamination (debris) in regulator.
B.
Oversized regulator; valve plug operates
directly next to seat.
* Seat leakage may be diagnosed when a failure of the dynamic side seal has occurred. Inspect both potential internal leak paths.
X. ORDERING INFORMATION
NEW REPLACEMENT UNIT vs PARTS "KIT" FOR FIELD REPAIR
To obtain a quotation or place an order, please retrieve the Serial Number and Product Code that was stamped on
the metal name plate and attached to the unit. This information can also be found on the Bill of Material ("BOM").
a parts list that was provided when unit was originally shipped. (Serial Number typically 6 digits). Product Code
typical format as follows: (last digit is alpha character that reflects revision level for the product).
7
–
NEW REPLACEMENT UNIT:
Contact your local Cashco, Inc., Sales Rep re sen-
ta tive with the Serial Number and Product code.
With this information they can provide a quotation
for a new unit including a complete description,
price and availability.
Do not attempt to alter the original construction of any
unit without assistance and approval from the factory.
All purposed changes will require a new name plate
with appropriate ratings and new product code to
accommodate the recommended part(s) changes.
14
–
CAUTION
A.
Remove internals, clean, and if necessary, replace sealing and
seating elements. *
B.
Check actual flow conditions; resize regulator for minimum and maxi-
mum flow; if necessary, replace with smaller regulator.
SECTION X
PARTS "KIT" for FIELD REPAIR:
Contact your local Cashco, Inc., Sales Rep re sen-
ta tive with the Serial Number and Product code.
Identify the parts and the quantity required to repair
the unit from the "BOM" sheet that was provided
when unit was originally shipped.
NOTE: Those part numbers that have a quantity indicated
under "Spare Parts" in column "A" reflect minimum
parts required for inspection and rebuild, - "Soft
Goods Kit". Those in column "B" include minimum
trim replacement parts needed plus those "Soft
Goods" parts from column "A".
If the "BOM" is not available, refer to the cross-
sectional drawings included in this manual for part
identification and selection.
A Local Sales Representative will provide quotation
for appropriate Kit Number, Price and Availability.
Remedies
IOM-SLR-2
