Casio CFX-9850G PLUS Функциональное руководство - Страница 7

Просмотреть онлайн или скачать pdf Функциональное руководство для Калькулятор Casio CFX-9850G PLUS. Casio CFX-9850G PLUS 14 страниц. 6. matrix calculations
Также для Casio CFX-9850G PLUS: Руководство пользователя (18 страниц), Руководство по коммуникациям (13 страниц), Руководство по программе (18 страниц), Прочитайте это первое руководство (13 страниц), Руководство по графике (8 страниц), Руководство по графике (6 страниц), Руководство по графике (12 страниц), Руководство по графике (12 страниц), Руководство по графике (12 страниц), Руководство по графике (12 страниц), Руководство по графике (10 страниц), Руководство по расчетам (13 страниц), Руководство по расчетам (18 страниц), Руководство по расчетам (15 страниц), Справочник по комплексным числам (6 страниц), Руководство по расчетам (6 страниц), Руководство по расчетам (20 страниц)
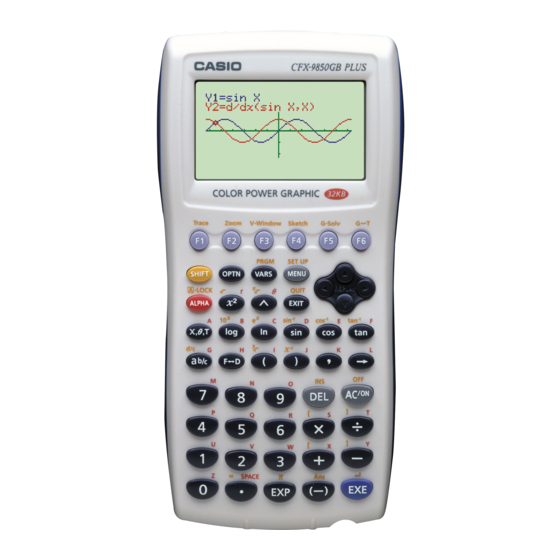
Casio CFX-9850G PLUS Функциональное руководство
1. After entering the RUN Mode, display the sketch menu and perform the
following operation.
!4(Sketch)6(g)
1(PLOT)1(Plot)c,c
2. Press w and the pointer appears on the display. Press w again to plot a
point.
• You can use the cursor keys to move the pointer around the screen.
• If you do not specify coordinates, the pointer is located in the center of the
graph screen when it appears on the display.
• If the coordinates you specify are outside the range of the View Window
parameters, the pointer will not be on the graph screen when it appears on
the display.
x
• The current
- and
X and Y.
k k k k k Turning Plot Points On and Off
Use the following procedures to turn specific plot points on and off.
u u u u u To turn plot points on and off in the STAT, GRAPH, TABLE, RECUR
and CONICS Modes
• To turn a plot point on
1. After drawing the graph, display the sketch menu and press 6 (g) 1
(PLOT) 2 (Pl·On) to display the pointer in the center of the screen.
2. Use the cursor keys to move the pointer to the location where you want to plot
a point and then press w.
• To turn a plot point off
Perform the same procedure as described under "To turn a plot point on" above,
except press 3 (Pl·Off) in place of 2 (Pl·On).
• To change the on/off status of a plot point
Perform the same procedure as described under "To turn a plot point on" above,
except press 4 (Pl·Chg) in place of 2 (Pl·On).
Graphing with the Sketch Function
y
-coordinate values are assigned respectively to variables
[Sketch]-[PLOT]-[Pl·On]/[Pl·Off]/[Pl·Chg]
10 - 2
159