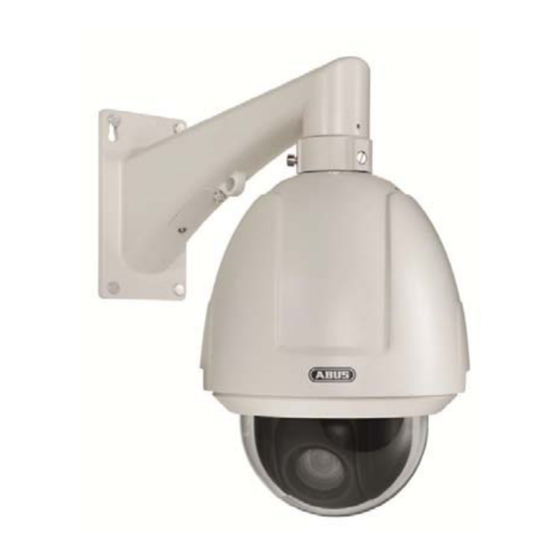
Abus TVAC31200 Краткое руководство - Страница 11
Просмотреть онлайн или скачать pdf Краткое руководство для Камера безопасности Abus TVAC31200. Abus TVAC31200 19 страниц.

3. Installation
Before starting:
Wood screws (self-tapping) can be used for wooden walls.
For stone walls, drill four holes with a diameter of 5 mm in the ceiling to match the intervals between
the holes in the mounting plate. Then fit four suitable dowels.
3.1 Turn the dome anti-clockwise to open it and remove it.
3.2 Remove the lens protector, the foam and the adhesive strips from the dome.
3.3 Then fit the dome back onto the Speed Dome.
3.4 Use the mounting plate as a template to mark the four drill holes.
3.5 If the cables are guided from above, mark the corresponding hole for the cable and then drill all
holes.
Cable guide hole
3.6 Installing the Speed Dome in the mounting plate
3.6.1
Lay the cables for the Speed Dome and align the bottom side of the Speed Dome with
the mounting plate as shown in the diagram.
3.6.2
Push the Speed Dome upwards and then to the front in the direction of the arrow. As
soon as the Speed Dome is in the correct position, the spring automatically engages in
the mounting plate.
To complete installation, remove the protective film from the dome.
Screw holes
Alignment
29
2
Push to the front
Locking
Push upwards
1
mechanism
Spring
English
