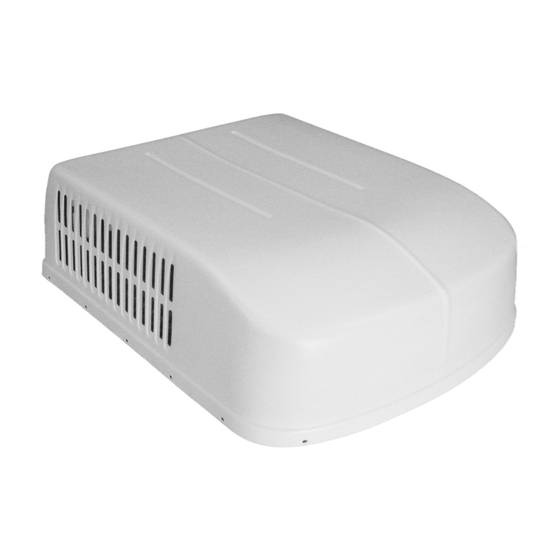
Duo-Therm 57908.321 Руководство по установке - Страница 12
Просмотреть онлайн или скачать pdf Руководство по установке для Кондиционер Duo-Therm 57908.321. Duo-Therm 57908.321 17 страниц. Roof top air conditioner/heat pump
Также для Duo-Therm 57908.321: Руководство по установке и эксплуатации (17 страниц)

10. INSTALLATION OF AIR CONDITIONER/HEAT PUMP
Installing unit with 3105007.XXX or 3105935.XXX
Return Air Cover
A. INSTALLATION OF CEILING TEMPLATE
1.
Check gasket alignment of the air conditioner/heat
pump over the roof opening and adjust if necessary.
Unit may be moved from below by slightly lifting
and sliding. See FIG. 11A.
2.
Remove return air cover and ceiling template from
the 3105007.XXX or 3105935.XXX kit carton. See
FIG. 10A
FIG.
10A
Ceiling
Template
Return Air
Grill
3.
Locate 1/4 " unit mounting bolts in the parts pack-
age.
4.
Hold the ceiling template up to the 14-1/4" x 14-1/
4" (±1/8") opening. Be sure the large plate faces
the rear of the RV.
FIG. 11A
Center Unit From Below
Roof
Gasket
Installing unit with 3105007.XXX or 3105935.XXX
Return Air Cover - continued on page 13, column A.
ANALOG DUCTED INSTALLATION INSTRUCTIONS
Divider Plate
Return Air
Cover
B. INSTALL CEILING TEMPLATE
Installing unit with 3308120.XXX Genesis Air Filtration
System Return Air Kit Return Air Cover - continued on
page 13, column B.
12
Installing unit with 3308120.XXX Genesis Air Filtra-
tion System Return Air Kit Return Air Cover
A. INSTALLATION OF FOAM DIVIDER
1. Locate the foam divider and insert it corner to cor-
ner in the 14-1/4" x 14-1/4" (±1/8") opening with
the adhesive tape up (Do not remove paper to ex-
pose adhesive). The foam divider should be level
with the ceiling (±1/4"). Tear off the excess at the
pre-cut perforations in divider. See FIG. 10B.
FIG. 10B
Base Pan
Upside
Down
Foam
Divider
Place Foam Divider in
(14-1/4" x 14-1/4" (±1/8")
Ceiling Opening against
Base Pan Bottom
2. Peel the paper off of the foam divider and stick it in
place on the center of the rear edge of the return air
opening on the ceiling template See. FIG. 11B.
FIG. 11B
Adhesive
Peel Off Paper - Center Divider - Stick To
Rear Flange On Ceiling Template
1. Place the ceiling template up into the return air open-
ing in the ceiling and plug the unit's control cable
into the control box before installing the mounting
bolts.
Do Not Peel Tape Off
Adhesive
Ceiling
Foam Divider Ceiling
(±1/4")
Level
Tear Off
Excess
Foam Divider
