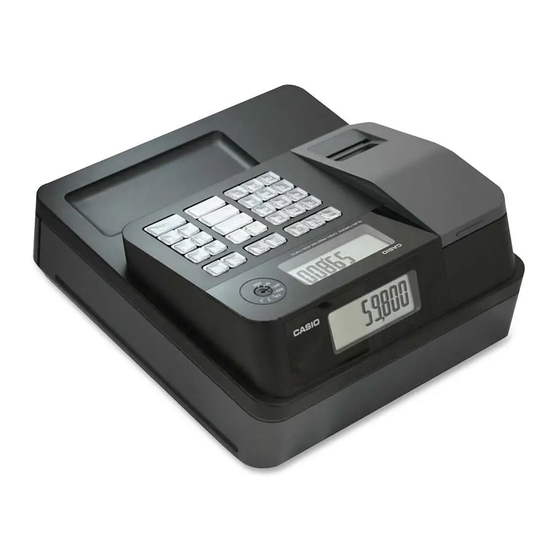
Casio PCR-T273 Краткое руководство по эксплуатации - Страница 2
Просмотреть онлайн или скачать pdf Краткое руководство по эксплуатации для Кассовый аппарат Casio PCR-T273. Casio PCR-T273 2 страницы. Electronic cash register
Также для Casio PCR-T273: Руководство пользователя (3 страниц)

Getting to know your cash register
1. Mode switch
Mode switch
OP
PGM
Operator key
Program key
The Program key marked PGM can select any posi-
tion of the Mode switch while Operator key marked
OP can select only OFF, REG, or CAL positions.
PGM RF OFF REG CAL
X
Z
OP key
-
-
-
-
¡
¡
¡
PGM key
¡
¡
¡
¡
¡
¡
¡
1
PGM (Programming)
This position is for setting your cash register to suit
the needs of your store.
2
RF (Refund)
Use this position to correct registered items.
3
OFF
The cash register turns off in this position.
4
REG (Register)
This position is for normal transactions.
5
CAL (Calculator)
Select this position when you use the cash register
as a calculator.
6
X (Read)
This is the position used for issuing daily sales totals
report without clearing the data.
7
Z (Reset)
This position is for issuing reports of daily totals with
clearing the accumulated totals.
MA1407-E
2. Display
4
*1234%67
5
1
3
2
1
Department number display
Anytime you press a department key to register an
item, corresponding department number appears
here.
2
PLU number display
When you perform a PLU registration, corresponding
PLU number appears here.
3
Number of repetition
When you register an item repeatedly in a depart-
ment, the number of repetition appears here.
4
Numeral display
Entered values (unit prices or quantities) and calcu-
lated values (subtotals, totals, or change amount due)
are displayed here. Up to eight digits numbers are
shown in this area.
5
Character display
This digit shows the last character set in the char-
acter program mode (P2). Total (T) or change (C)
appears when a total, subtotal, or change amount is
displayed on part 4.
3. Keyboard
1
2
3
4
8
9
l
1
Press to feed the receipt or
journal paper.
h
2
Press to register multiple
quantity of an item. Also this
key is used for displaying date
and time.
y
3
Press to correct the last
operation if it is not registered in
the memory (before pressing a
department key)
g
4
Press to discount items in price.
Also this key is used to correct
wrong entry after pressing a
department key.
i
5
PLU (Price Look Up) key is
used to preset unit prices of
items.
:
6
Press to discount items in rate.
Also this key is used to assign
cashiers by ID numbers.
~
7
This key is used to program a
tax rate.
? >
'
8
,
Numeral entry keys
"
9
Decimal point key
a 8
10
These keys are used to register
items in corresponding depart-
ment.
to
keys are used
a
f
for four arithmetic calculations
in the calculator mode.
5
6
7
11
12
13
14
15
16
10
17
c
11
Received on Account key.
Use this key when you receive
money and put in the drawer
without any transaction.
v
12
Paid Out key Use this key when
you withdraw money from the
drawer.
j
13
Press this key before you input
any number for your reference.
Also, by combinations with
department keys, items can be
registered in up to 24 depart-
ments.
m
14
Check/No sale key. Use this
key when the payment is made
by checks. Also pressing this
key opens the drawer without
any registration.
k
15
Use this key to calculate the
subtotal.
u
16
Use this key for charge sales.
p
17
Cash Amount Tendered key.
Use this key when the payment
is made in cash. Also this key
functions as the equal (=) key in
the calculator mode.
Daily job flow
Before opening your store
• Plugged in?
• Enough paper roll?
• Date and time are correct?
(pages E-63 and E-64 of the
User's Manual)
• Enough small change in the
drawer?
While the store is open
• Registrations (page E-15 of
the User's Manual)
• Issuing latest total sales
report if needed. (page E-26
of the User's Manual)
After closing the store
• Issuing day's total sales
report. (page E-26 of the
User's Manual)
• Withdraw the money from
the drawer.
After you withdraw all the
money from the drawer, we
recommend that you leave
the drawer open when you
leave your store.
• Turn the Mode switch to
OFF.
