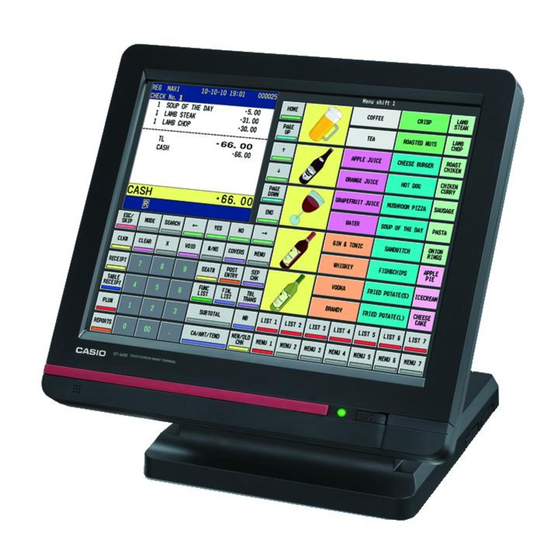
Casio QT-6600 Руководство по установке и восстановлению - Страница 6
Просмотреть онлайн или скачать pdf Руководство по установке и восстановлению для Кассовый аппарат Casio QT-6600. Casio QT-6600 16 страниц. Touch screen smart terminal
Также для Casio QT-6600: Технические характеристики (4 страниц), Руководство по установке и восстановлению (3 страниц)

- 1. From Cf Card to a Terminal
- 2. 1-1.How to Load Ipl (Initial Program Loading
- 3. Stand Alone System (with External Printer / Slip Printer
- 4. 1-2.How to Install the System
- 5. System down and Recovery
- 6. Check Tracking Master Terminal Failure
- 7. 2-3.Recovery Processing
- 8. Master/Backup Master down Detection
System Installation
1-2.
How to install the system
1-2-1.
Stand alone system (with external printer / slip printer)
Printer
Printer
PRN (1) PRN (2)
1-2-2.
Master/satellite system with external (local) printer
Master
I-6
Slip
In-line
Slip
Backup
master
1. Set up the system (refer to the left figure).
2. Turn on all external / slip printer(s).
3. Initialize the terminal (refer to the Initialization chapter of the
programming manual page 8.)
Note 1:
If the terminal cannot recognize the printer(s) correctly,
check the dip switch settings on the printer or printer cable
and try initialization operation again. Casio printer cable
(PRT-CB-8A/-8B) is required for proper recognition of the
local printer.
Note 2:
Slip printer should be connected to COM 2 port. If COM
2 is not vacant for the slip printer, use port 4 ~ 6. But the
automatic printer detection during initialization is not
performed. So you have to program the I/O parameter file
manually and flag clear the machine.
4. Complete the initialize operation.
If your system has LAN printer(s), refer to 1-2-4 section.
1. Set up the system (refer to the figure below).
2. Turn on all external / slip printer(s) connected with master
terminal.
Satellite
PRN (1)
3. Initialize the master terminal (refer to the Initialization chapter
of the programming manual page 8.)
Note 1:
1. Do not turn on other terminals.
2. If the terminal cannot recognize the external printer(s)
correctly, check the dip switch settings on the printer or
printer cable and try initialization operation again. Casio
printer cable (PRT-CB-8A/-8B) is required for proper
recognition of the local printer.
Note 2:
Slip printer should be connected to COM 2 port. If COM
2 is not vacant for the slip printer, use port 4 ~ 6. But the
automatic printer detection during initialization is not
performed. So you have to program the I/O parameter file
manually and flag clear the machine.
Satellite
PRN (1)
