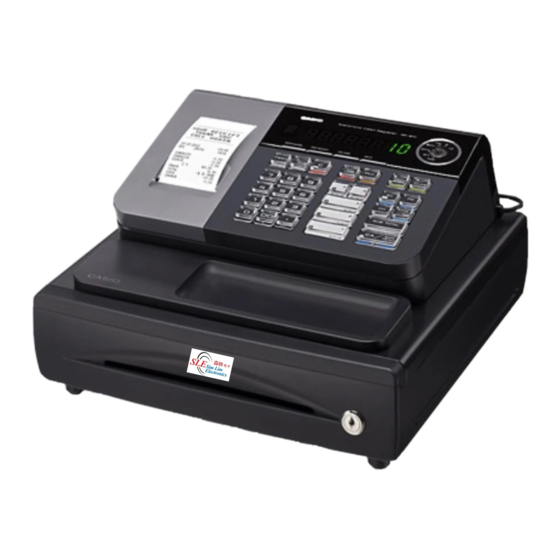
Casio SE-S10 Руководство по быстрому программированию
Просмотреть онлайн или скачать pdf Руководство по быстрому программированию для Кассовый аппарат Casio SE-S10. Casio SE-S10 2 страницы.
Также для Casio SE-S10: Руководство по эксплуатации (8 страниц), Руководство по быстрому программированию (2 страниц)

"
14
Flash Report
A flash report is a useful tool to monitor how much money has been taken throughout the trading day.
Turn Key to the X position
A)
B)
Press
15
Electronic Journal Report
The electronic journal records most operations that are performed at the cash register. Data can be printed out
if a hard copy is required and it is also possible to designate a read range by date and or consecutive number.
(Please refer to the user manual for additional information on this feature)
Turn Key to the Z position
A)
B)
Enter
58
Note: This operation will print and reset the Electronic Journal print only is performed from X mode please refer User Manual for more
details
16
Daily End of Day Report
.
The following operation will print the end of day financial report.
Note: Using X Mode will print only while Z Mode will print and reset the figures ready for the next trading day.
6
Australian Quick Programming Guide
Casio SE-S10 (please refer to the supplied "User Manual" for further information)
1
Load Memory Protection Batteries and Paper Roll
Insert 2 new "AA" type batteries
A)
Remove the printer cover
B)
Open Battery compart
C)
ment cover
into the compartment
IMPORTANT
Be sure that the plus (+) and minus (-) ends of the batteries
are facing in the directions indicated in the illustration inside the
battery compartment.
2
Initialize Your Cash Register
A)
Insert the supplied key and turn
B)
Plug the power cord into the AC outlet and wait for
to the "OFF" position.
the instructional messages to print.
3
Choosing the Language
A)
For English select the following:
Please also refer to printout instructions from the cash register
4
Setting Date and Time
Input date and time as indicated on the printout chit on the cash
A)
register
6
Setting for Australian Standards
Turn key to the Z position
A)
Perform the following sequence
B)
Note: This operation automatically sets correct tax
rates, rounding, and receipt formats to Australian
standards.
To prevent losing all of your settings and sales
data, we recommend you install the two memory
protection batteries.
D)
Install the supplied 58mm thermal paper roll by lifting up
the platen arm (Push open button) and placing the paper
roll into the printer well. Close the cover firmly.
5
Printer switch for receipt or Journal
To set for journal printing:
A)
Turn key to the PGM position
Perform steps below.
B)
To set for receipt printing:
Turn key to the PGM position
A)
B)
Perform steps below.
7
Setting GST to Departments
To enable
A)
Turn key to the PGM position
position
If using shift departments
B)
Press
otherwise skip this step
C)
Press
Press departments as required
D)
Press
To disable use same sequence except use
in place of
