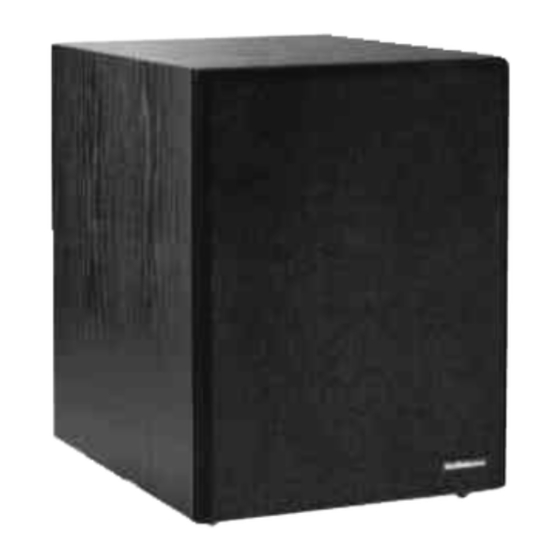
AudioSource SW Two Руководство пользователя - Страница 5
Просмотреть онлайн или скачать pdf Руководство пользователя для Усилитель AudioSource SW Two. AudioSource SW Two 10 страниц. Powered subwoofer with built-in active stereo crossover and high intensity video shielding
Также для AudioSource SW Two: Руководство пользователя (4 страниц), Руководство пользователя (4 страниц), Руководство пользователя (8 страниц)

All Components plug into the "RCA style" jacks on the rear panel of the PreAmp/Tuner Two.
Tape
Tape
Phono
CD
Rec
Mon
THESE CONNECTIONS ARE PICTURED IN "SET-UP DIAGRAM #1
Audio Connections
Phono: Plug the "Line Out" jacks of your turntable into these jacks.
C.D. : Plug the "Line Out" jacks of your C.D. Player into these jacks.
Tape Mon. : Plug the "Line Out" (Play) jacks of your cassette deck into these jacks.
Tape Rec. : Plug the "Line In" (Rec.) jacks of your cassette deck into these jacks.
Video 1 : Plug the "Line Out (audio)" jacks of your "Video 1 component" (TV/Monitor) into these jacks.
Video 2 : Plug the "Line Out (audio)" jacks of your "Video 2 component" (Laserdisk) into these jacks.
Video 3 : Plug the "Line Out (audio)" jacks of your "Video 3 component" (Stereo VCR) into these jacks.
Video 3 Rec. : Plug the "Line In (audio)" jacks of your "Video 3 component" (Stereo VCR) into these jacks.
Line Out 1 : Plug these jacks into the "Line In" jacks of a stereo power amplifier.
Line Out 2 : These jacks are provided as a convenience. They may be used to send the original signal to
another amplifier, or a powered subwoofer.
Video Connections
Monitor : Plug the "Video In" jack of your T.V. Monitor into this jack.
Record : Plug the "Video In" jack of your "Video 3 component" into this jack.
Video 3 : Plug the "Video Out" jack of your "Video 3 component" into this jack.
Video 2 : Plug the "Video Out" jack of your "Video 2 component" into this jack.
Video 1 : Plug the "Video Out" jack of your "Video 1 component" into this jack.
Note: When using an outboard processor or graphic equalizer, follow the additional connections in
"Set-up Diagram #2". All other connections are identical to "Set-up diagram #1".
THESE CONNECTIONS ARE PICTURED IN "SET-UP DIAGRAM #2
Audio Connections
1. Tape Mon. : Plug the "Line Output" jacks of your outboard processor into these jacks.
2. Tape Rec. : Plug the "Line Input" jacks of your outboard processor into these jacks.
3. Plug the "Line in" jacks of your cassette deck into the "Tape 1 Rec" jacks of your outboard processor.
4. Plug the "Line Out" jacks of your cassette deck into the "Tape 1 Play" jacks of your outboard processor.
Note: In this type of system, you can listen to your cassette deck by pressing the "Tape Monitor" switch
on your outboard processor.
Hooking It All Up
Video 3
Video 3
Video 2
Video 1
Line
Rec
Out 2
Monitor
Record
Video 3
Video 2
L
R
75 ohm
300 ohm
Line
Out 1
Switched
Video 1
GND
AM
Max Power
MODEL PreAmp/Tuner Two
Switched
Unswitched
AC 120 V 60 HZ
Max Power
Power Consumption
Max Power
500 w
500 w
17 w
200 w
