DAPAudio Vintage DPA-3400 Руководство по эксплуатации - Страница 7
Просмотреть онлайн или скачать pdf Руководство по эксплуатации для Усилитель DAPAudio Vintage DPA-3400. DAPAudio Vintage DPA-3400 11 страниц. Vintage digital power series

Installation
Vintage Digital Power Installation
Remove all packing materials. Check that all foam and plastic padding has been removed.
Screw the equipment into a 19" rack. Connect all cables.
Always disconnect from electric mains power supply before cleaning or servicing.
Damages caused by non-observance are not subject to warranty.
Set Up and Operation
Before plugging the unit in, always make sure that the power supply matches the product specification
voltage. Do not attempt to operate a 120V specification product on 240V power, or vice versa.
Do not supply power before
Connecting Outputs
Speakers can be connected using the Speakon plugs on the rear panel of the amplifier.
Connecting Power
The actual current draw, the amplifier demands from the AC mains, depends on many factors (its load,
output level or the crest factor of its program material).
The power requirement is rated under typical music conditions, with both channels driven so those peaks
are just at the clipping point.
Stereo Operation
In stereo (dual channel) operation, both channels operate independently of each other, with their input
attenuates controlling their respective levels.
A signal at Channel A's input produces an amplified signal at Channel A's output, while a signal at Channel
B's input produces an amplified signal at Channel B's output
Input Attenuator
Whenever possible, set attenuates fully clockwise to maintain optimum system headroom. The input
attenuator controls (one for channel A, one for channel B) located at the front panel adjust gain for their,
respective amplifier channels. See the specifications at the end of this manual for standard voltage gain and
input sensitivity information.
Indicators
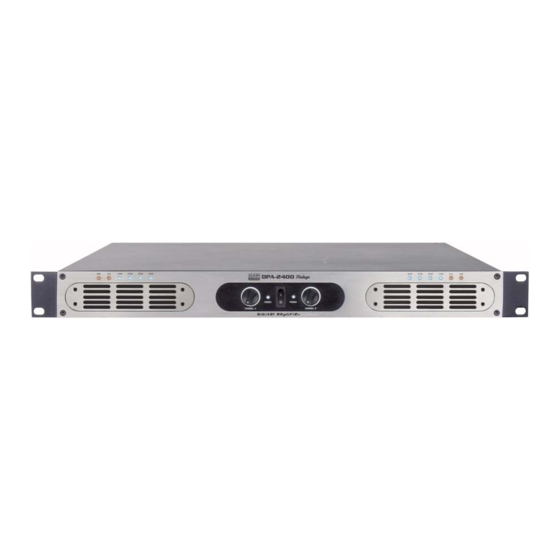
The Palladium features 4 front LED indicators per channel: Fault, Clip, VU Meter and Power. These LED
indicators inform the user of each channel's operating status and warn of possible abnormal conditions.
Fault LED
When the red LED lights, indicating that the channel has overheated, the channel's output relay is open, and
the speaker(s) has been disconnected for any of the following reasons:
1. The unit was just powered up and is in the turn – on delay mode
2. The amplifier senses a DC voltage at its output.
Clip LED
A channel's red clip LED will light dimly at the onset of clipping and increase in brilliance, as clipping
becomes more severe, staying on until the clipping ceases. If the LED's are flashing quickly and
intermittently, the channel is just at the clip threshold, while a steady, bright glow means the amp is clip
limiting, or reducing gain to prevent severely clipped waveforms reaching the speakers.
Power LED
This indicator LED lights, when the amplifier has been turned on, AC power is available and the low-voltage
power supply and fan are operational
all components of the system are
set up and connected properly.
5
