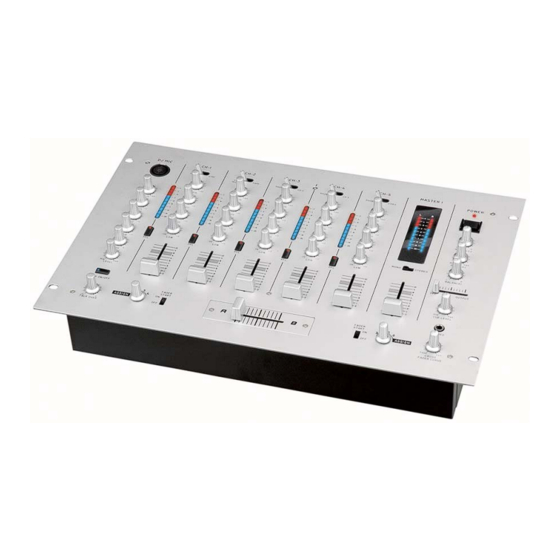
DAPAudio D2141 Руководство - Страница 10
Просмотреть онлайн или скачать pdf Руководство для Музыкальный микшер DAPAudio D2141. DAPAudio D2141 18 страниц.

10. Mic / Line Switch
This switch is used to set the input impedance, either low (mic) or high (line).
11. GAIN
With the Gain control you can adjust the MIC or LINE input-sensitivity, while
optimally matching the incoming signals to the mixer's internal operation level.
When dealing with very low input levels (example vocal recordings or distant
sound sources) the high gain is extremely profitable.
How to set the Input level:
1) Set the gain control and the corresponding channel fader to their minimum
setting.
2) Connect the desired sound source (CD player, microphone, ect) to the
corresponding MIC or LINE input.
3) Play the sound source at its highest volume setting; respectively, sing or
speak as loud as possible directly into the microphone.
4) While doing so, adjust the input level using the gain control, so that during
the loudest passages the PEAK LED is just not lit, but the SIGNAL-LED
lights constantly.
This basic channel setting leaves you at least 8dB headroom. This means, you
have at least 8dB before signal clipping. If you want to make further
adjustments to the channel's EQ setting, you should repeat step 3 and 4
again.
12. Level Indicator
This indicates the cue prefader level.
13 / 14 / 15. Equalizer SECTION (HI / MID / LOW)
The mixer's Equalizer section allows shaping of the incoming audio signal. All
mono input channels are fitted with 3-band EQ. The upper (13) and lower (15)
shelving controls have their frequencies fixed at 12 Khz and 80 Hz
respectively. The Mid range control (14) has a peaking response frequency at
1.2 Khz. All 3 bands have up to 26 dB cut and up to 12 dB cut and boost, with
a centre detent for "OFF". Turning the Equalizer level control to the right
amplifies the frequency range, turning to the left attenuates the signal. Minor
changes to the Equalizer control usually produce the best results. Try to avoid
excessive enhancement of the MID band.
16. PFL
The PFL button (pre fade listening) is designed to override the main signal, so
although an individual channel is heard, it is not in complete isolation. If you
push the PFL button, regardless of the Aux rotary control, you will get the
complete signal in your headphone/monitors. This is useful, because the
recording engineer hears some of the main signal. So the channel is not only
heard, but also in context. Pressing this button assigns a channel's audio
signal to the PFL bus. Simultaneously assigning more than one channel to the
PFL bus is possible, while the individual channel's volume fader setting is not
recognized (PRE FADER LISTEN). Once a PFL button is pressed, the master
display automatically enters PFL/PGM mode. This allows you setting a signal's
correct level or making special EQ-adjustments without the need of including it
in the main mix.
17. Channel Fader
A high-quality true logarithmic 58mm fader, which controls the volume of a
8
