DAPAudio D1256 Руководство - Страница 10
Просмотреть онлайн или скачать pdf Руководство для Оборудование для звукозаписи DAPAudio D1256. DAPAudio D1256 16 страниц.

13) LCD:
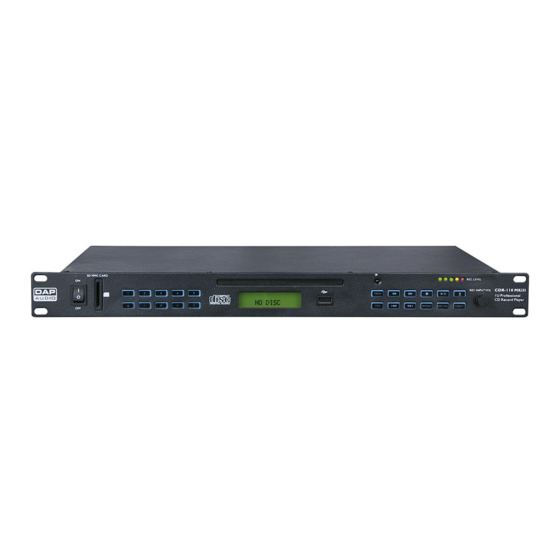
When powering on the CDR-110 MKII without a USB stick or a SD/MMC card inserted, the CDR-110
MKII will start searching for a source, indicated by "USB" blinking in the display. If the CDR-110 MKII
does not detect a source within approximately 6 seconds, the display will show "No USB". If you insert
a USB stick or a SD/ MMC card, the display will look as shown in figure 4.
Showing the total number of folders and the total number of tracks (total of all tracks in all folders).
14) USB:
Use this port to connect your USB stick for playback/recording.
15, 35) Find:
Press the Find button once to start track search, twice for folder search. Pressing the button again will
exit find mode. See 1. Play Modes on page 8 for more info.
16, 27) Folder
:
Press this button to skip to the previous folder's first track.
17, 26 ) Folder
:
Press this button to skip to the next folder's first track.
18, 28) Repeat:
Use this button to repeat one track, one folder or all tracks of the medium. See 6. Using the find
function on page 9 for more info.
19, 40) Rec/Del:
Pressing this button activates the recording mode. See 10. Recording on page 10 for more info.
Pressing and holding this button for 3 seconds enables you to delete a track from either the USB-stick
or the SD/MMC-card. See 11. Delete a track on page 11.
20, 39) Func(t):
Press this button to select between CD, USB, SD/MMC-Card or AUX as recording source.
21) Rec input vol:
Use this control to adjust the level of the Aux in (23) input. Make sure the red LED of the Rec level (11)
VU meter does not light and that the orange LED only lights up occasionally.
22) Line out:
Connect to the line input of the Mixer.
23) Aux in:
Connect an external device from which you want to record.
24)
AC Inlet with integrated fuse
This connector is meant for the connection of the supplied main cord. Connect one end of the
power cord to the connector, the other end to the mains, then turn on the power switch to operate
the unit.
Note: Please make sure that the supply voltage matches the operation voltage before connecting
the unit to mains.
holder:
Replace the fuse only with a fuse of same specification (T630mA).
8
Fig. 4
