darda 11177 Краткое руководство по эксплуатации - Страница 3
Просмотреть онлайн или скачать pdf Краткое руководство по эксплуатации для Игрушка darda 11177. darda 11177 6 страниц.
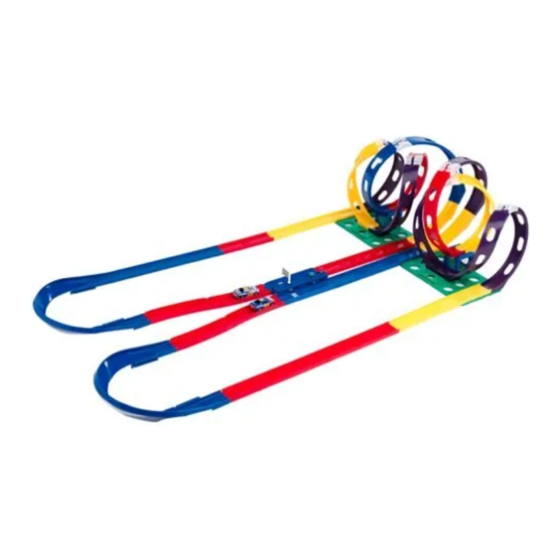
STEP 1
• Attach (1) stacking bridge to the baseplate.
• Using the built in track joiner on the stacking
bridge, attach (1) loop, facing as shown in Figure 1.
• Add (1) curved support track to the other end of
the loop using (1) track joiner.
• Attach the curved support track to the outer built-in
track joiner on the baseplate, as shown.
STEP 2
• Attach (1) loop to the open end of the stacking
bridge.
• Attach the other end of the loop to the built-in
track joiner directly in front of the stacking bridge.
See FIGURE 2.
STEP 3
• Add another loop to the open end of the built-in track
joiner in front of the stacking bridge.
• Attach the other end of the loop to the outer left built-in
track joiner, as shown.
Loop
Stacking Bridge
Loop
Built-In Track Joiner
Loop
Built-In Track Joiner
Built-In Track Joiner
PAGE 3
Track Joiner
Baseplate
FIGURE 1
Curved Support
Track
Built-in Track
Joiner
FIGURE 2
FIGURE 3