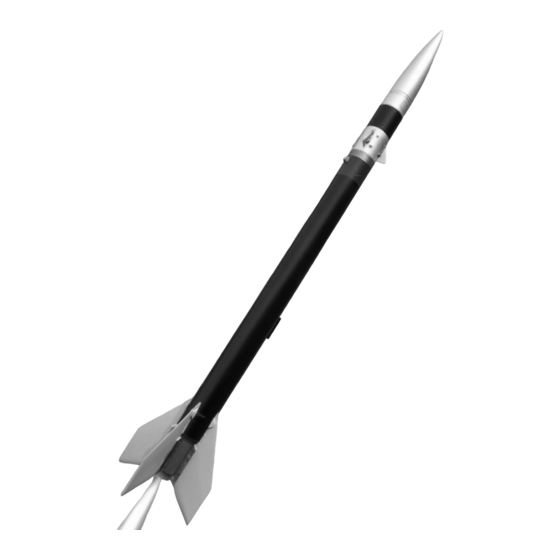
Apogee Black Brant VC Руководство - Страница 5
Просмотреть онлайн или скачать pdf Руководство для Игрушка Apogee Black Brant VC. Apogee Black Brant VC 16 страниц.

15. Optional: Apply wood filler to the spiral
grooves in the tubes, at the joint between the
tubes, and on the ends of the exposed centering
rings. Allow the filler to dry and then sand the sur-
face smooth. Filling at this point is much simpler
than after assembly. To ensure solid construction
however, sand so that only a minimal amount of
filler remains and that it is entirely dry before glu-
ing other parts to the surface of the tube.
Main Fins
16. Cut the main fins out of the 3/32" balsa wood
sheet using a sharp hobby knife, and lightly sand
the edges if necessary to remove any remnants of
tabs.
17. Sand the fins smooth using a sanding block
and fine grit sandpaper. If a more scale appear-
ance is desired, the following optional steps may
be followed to achieve the diamond shaped airfoil
of the Black Brant VC fins.
Steps 18 through 25 are optional. They are provided to achieve a more scale look, but not required for the
Black Brant VC to fly. These optional steps use more advanced finishing techniques. Proceed to step 26 if
you wish to continue the build without completing the optional steps.
18. Mark the centerline of the forward and aft edg-
es of the fins by using the cardstock sheet and a
sharp pencil. Place the fin and the cardstock sheet
flat on a surface and draw along the fin, using the
cardstock as a spacer. As this will actually mark
slightly above the centerline, mark the fin once,
then flip it over and mark it again to get a better
estimate of the centerline. Do this for the forward
and aft edges of all four fins.
19. Apply masking tape to each of the fins such
that the edge of the tape marks a line between a
point 1/8" (3mm) behind the step at the root of the
fin, and 5/8" (16mm) from the forward edge at the
tip of the fin. Apply this tape to all of the fins in the
same way. The fin sanding guide in the beginning
of this instruction booklet can be used to check
that the areas are marked correctly both here and
in the following steps.
Step 15
Step 16
Step 17
Step 18
Mark Aft Edge
Step 19
5/8" (16mm)
Mark
Forward Edge
1/8" (3mm)
Page 5
