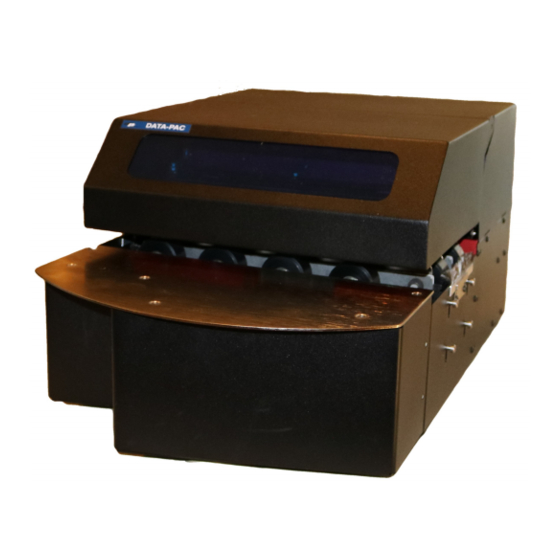
Data-Pac DIB-C Руководство по настройке и базовой эксплуатации - Страница 4
Просмотреть онлайн или скачать pdf Руководство по настройке и базовой эксплуатации для Цифровая система рассылки Data-Pac DIB-C. Data-Pac DIB-C 11 страниц.

Connecting the Cables
1. Connect the ELO Monitor to the DIB-PC with the supplied VGA cable as
referenced in the cabling diagram.
2. Connect the ELO Monitor Touch Screen to the DIB-PC with the supplied USB
cable as referenced in the cabling diagram.
3. Connect the DIB to Com1 on the DIB-PC with the supplied Serial cable as
referenced in the cabling diagram.
4. Connect the DIB Print system to the DIB-PC with the supplied USB cable as
referenced in the cabling diagram.
5. Connect the PSD to the DIB-PC with the supplied USB cable as referenced in the
cabling diagram.
6. Connect the PSD Dongle to the DIB-PC as referenced in the cabling diagram.
7. Connect the Keyboard to the DIB-PC with the supplied Keyboard USB Dongle as
referenced in the cabling diagram.
Connecting the Power
1. An AC Power Strip is recommended for the AC Power connections.
2. Plug the DIB-C Power Cord into the AC Power Strip. (Make sure the DIB switch
located in the front of the unit is in the OFF position.)
3. Connect the ELO Monitor Power Cord into the Monitor and then plug into the AC
Power Strip.
4. Plug the PSD Power Supply into the PSD and then plug the Power Supply into the
AC Power Strip.
5. Plug the DIB-PC Power Supply into the DIB-PC and then plug the Power Supply
into the AC Power Strip.
6. Plug the AC Power Strip into an AC Power Source.
Powering up the DIB-C System
1. Switch the AC Power Strip to the ON position.
2. Turn the ELO Monitor ON.
3. Turn the DIB-PC ON and wait for it to boot.
4. Switch the DIB-C to the ON position.
5. The PSD is powered on when the AC Power Strip is ON.(Both LED's on the PSD
will turn green)
Data-Pac Mailing Systems Corp.
DIB-C Setup and Basic Operation Guide
Copyright Data-Pac Mailing Systems Corporation 2019. All Rights Reserved.
Ver. 2.0
4
