Elsner P03/3 Технические характеристики и инструкции по установке - Страница 8
Просмотреть онлайн или скачать pdf Технические характеристики и инструкции по установке для Погодная станция Elsner P03/3. Elsner P03/3 11 страниц.

2.3.3. Preparing the sensor
Unsnap cover and
remove upwards
Fig. 11
1
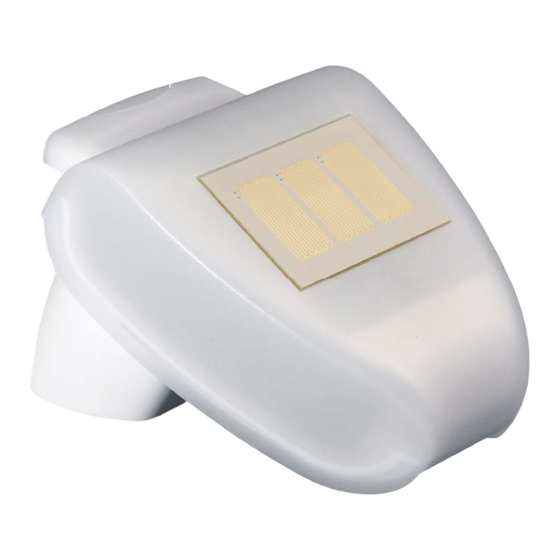
Lid with rain sensor
2
Cover Snaps
3
Bottom part of housing
The weather station cover with the rain sensor snaps in on the left and right along the
bottom edge (see figure). Remove the weather station cover. Proceed carefully, so as
not to pull off the wire connecting the PCB in the bottom part with the rain sensor
in the cover (wire with push-connector).
Push the connecting cable through the rubber seal on the bottom of the weather sta-
tion and connect the power and data cables to the terminals provided for this purpose.
The supply cable to the weather station should be a maximum of 30 m long. The con-
nection is by typical telephone cable (J-Y(ST)Y 2 × 2 × 0.8).
The connection cable must be plugged in between the cover and circuit board.
2.3.4. PCB Layout
P03/3 Weather Station • Status: 09.06.2016 • Technical changes reserved. Errors reserved.
a
b
8
Installation and commissioning
Abb. 12: Overview PCB
1
1
2
2
3
3
4
4
Socket for connecting
cables to
rain sensor in housing
cover
Connection plug
1: +24 V DC | 2: GND |
3: Data (massive cable
up to 0.8 mm²)
Control LED GPS recei-
ver
Socket for jumper
1
2
3
