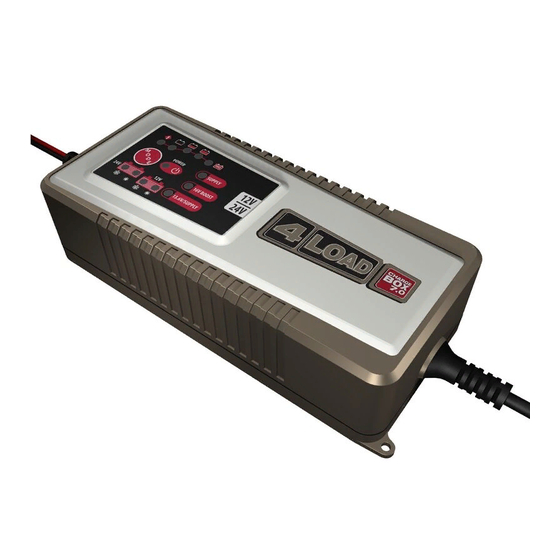
4load Charge Box 7.0 Руководство пользователя - Страница 7
Просмотреть онлайн или скачать pdf Руководство пользователя для Зарядное устройство 4load Charge Box 7.0. 4load Charge Box 7.0 11 страниц.
Также для 4load Charge Box 7.0: Руководство пользователя (11 страниц)

Before starting device up
q
for the first time
J
Clean the battery clips. Make sure that your
eyes do not come into contact with rust.
J
Ensure sufficient ventilation. Gaseous hydrogen
can leak out when charging or trickle charging
the battery.
Operation
q
Connection
q
j
Connect the connecting cable p or [ to the
connection adaptor ] .
j
Clamp the "+"-pole (red) y , i of the charger
to the "+"-pole of the battery.
j
Clamp the "–"-pole (black) u , o of the
charger to the "–"-pole of the battery.
Note: Make sure that the "+"-pole y , i or
the "–"-pole u , o sits firmly.
j
Connect the power cable r to the mains current.
As soon as you have connected the battery to the
charger, the charger automatically switches to
STANDBY mode. The "POWER" display w glows.
Note: The charger has its own reverse battery
protection. The LED
"+"-pole y , i or "–"- pole u , o has been wrongly
connected.
Disconnecting
q
j
Disconnect the power cable r from the mains
current.
j
Remove the "–"-pole (black) u , o of the
charger from the "–"-pole of the battery.
j
Remove the "+"-pole (red) y , i of the charger
from the "+"-pole of the battery.
Select mode of operation
q
j
Press the "MODE" button q to select the mode
of operation you want to have. The LED for the
mode of operation you want will glow steadily.
Before starting device up for the first time / Operation
"Error" Q shines when the
You can choose between the following modes
of operation:
Mode 1
28.8 V (24 V / 3.5 A):
Suitable for batteries with a capacity of more than
14 Ah in normal conditions. Charging mode for
open batteries, MF and for most GEL batteries.
-
The LED for Mode 1 } lights up. As soon as
the integrated switch is thrown, the appropriate
LED for the state-of-charge also comes on
(see "State of charge"). The charging process
starts with an amperage of 3.5 A. As soon as
the battery has been fully charged (28.8 V) the
following LEDs light up:
and
T .
The charger changes over to trickle charging.
If the voltage of the battery falls below 25.6 V,
the charging process starts up again with an
amperage of 1.5 A until the battery has been
fully charged again (28.8 V).
Mode 2
29.4 V (24 V / 3.5 A):
Suitable for batteries with a capacity of more than
14 Ah in cold conditions or also for many AGM
batteries (with electrolyte-absorbing mats) with a
capacity of more than 14 Ah.
-
The LED for Mode 2 { lights up. As soon as the
integrated switch is thrown, the appropriate LED
for the state-of-charge also comes on (see "State
of charge"). The charging process starts with an
amperage of 3.5 A. As soon as the battery has
been fully charged (29.4 V) the following LEDs
light up:
W ,
The charger changes over to trickle charging.
If the voltage of the battery falls below 25.6 V,
the charging process starts up again with an
amperage of 1.5 A until the battery has been
fully charged again (28.8 V).
Mode 3
14.4 V (12 V / 7 A):
Suitable for batteries with a capacity of more than
14 Ah in normal conditions. Charging mode for open
batteries, MF and for most GEL batteries.
-
The LED for Mode 3 P lights up. As soon as the
integrated switch is thrown, the appropriate LED
W ,
E ,
R
E ,
R and
T .
GB
17
