4M KidzRobotix BUBBLE ROBOT Руководство по эксплуатации - Страница 2
Просмотреть онлайн или скачать pdf Руководство по эксплуатации для Робототехника 4M KidzRobotix BUBBLE ROBOT. 4M KidzRobotix BUBBLE ROBOT 2 страницы.

D. ASSEMBLY
1. Push the fan (part G) onto the spindle of the motor (part H). Make sure you push the fan fully onto the spindle as in the diagram for
step 2.
2. Slot the motor and fan assembly into the front body (part A).
3. Push the rear body (part B) onto the front body. Feed the wires from the motors through the holes in the rear body as shown. Fix the
body together with six screws (part J). Put the bare metal ends of the two red wires into one of the terminal holes and secure them in
place with a terminal cap (part I). Repeat with the two black wires in the other terminal.
4. Push the two eyes (parts D) onto their pins on the body.
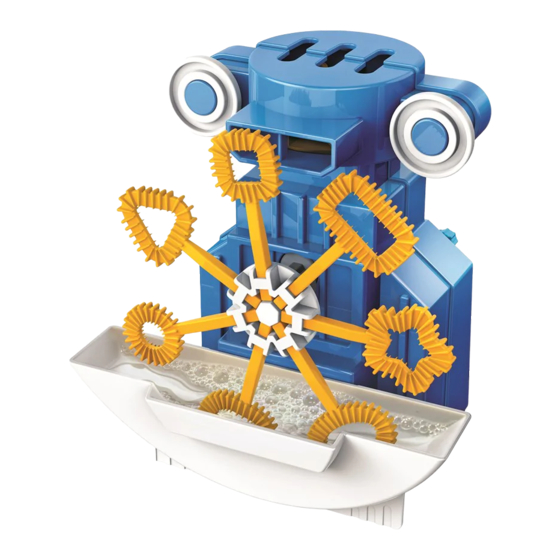
5. Also push the bubble wands (parts L) onto the rotor hub (part E). Push the hub onto the spindle on the front of the robot body.
6. Push the trough (part C) onto the robot body. Slide it up from beneath the rotor before slotting it into place.
7. Insert two 1.5-volt AAA batteries into the battery compartment, making sure they are the correct way round. Secure the battery
compartment cover (part F) with a screw.
E. OPERATION
8. Place your Bubble Robot on a flat surface. Pour some bubble solution (part K) into the trough. Flick the switch to the ON position.
Watch the bubbles stream from the Robot!
9. You can use the bubble wands to blow bubbles yourself too.
