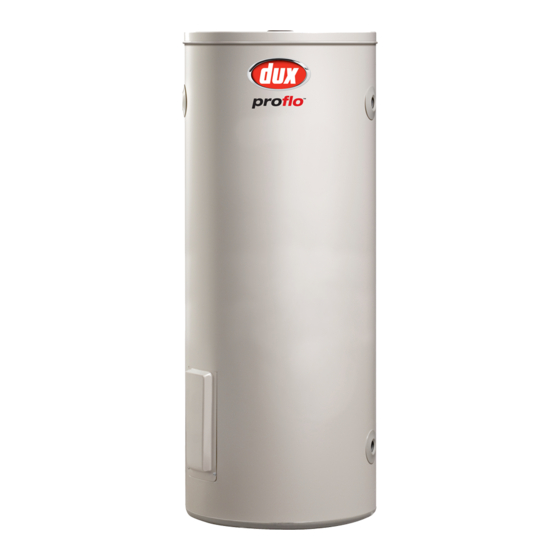
Dux 160F2 Руководство пользователя - Страница 8
Просмотреть онлайн или скачать pdf Руководство пользователя для Водонагреватель Dux 160F2. Dux 160F2 13 страниц. Proflo and marathon electric storage water heaters

The electrical power supply switch must be turned off and the fuse removed at the main
electrical supply switchboard before the water heater electrical cover is removed.
The Pressure & Temperature relief valves should be checked for adequate performance or
replaced at intervals not exceeding 5 years, or less in areas where local regulations apply.
The lever on the relief valve must be pulled to operate the valve at least once every 6
months.
Failure to operate the relief valve easing gear at least once every six (6) months may
indicate a problem with the water heater.
The Pressure & Temperature relief valve and the drain outlet pipe must not be sealed or
blocked. It is normal for the valve to overflow during heating cycles.
Operate the Pressure & Temperature relief valve for approximately 10 seconds by
operating the easing lever on the valve to ensure water is relieved to waste through the
relief drain pipe. Check to ensure the valve closes correctly
(BY AUTHORISED PERSONNEL ONLY)
The five yearly service should be carried out by a licenced tradesperson.
recommended that this service be carried out by your local Dux agent. The service should
include the following:
• Replace the Pressure & Temperature relief valve.
• Replace the anode. (in areas of harsh or adverse water conditions it is recommended
that you carry out a more frequent check of your anodes condition, refer Operating
Instructions "Water Quality")
• Flush the water heater.
To drain and flush the water heater:
(i) Turn off the power.
(ii) Turn off the cold water supply to the water heater at the isolating valve.
(iii) Gently operate the easing lever on the Pressure & Temperature relief valve to
release the pressure in the water heater.
(iv) Disconnect the cold water inlet union to the heater and attach a drain hose.
(v) Gently operate the Pressure & Temperature relief valve to let air into the heater and
allow water to escape through the hose.
(vi) To flush the heater, carry out steps (i) to (iv) above. Disconnect the hot water inlet
union and attach a water supply hose to the heater. Turn on the water supply.
(vii) Flush the heater until clear water appears. Reconnect all fittings, fill the heater and
restore the electricity supply.
DANGER
IMPORTANT
SERVICE INFORMATION
SIX MONTHLY SERVICE
(BY OWNER)
FIVE YEAR SERVICE
.
It is
