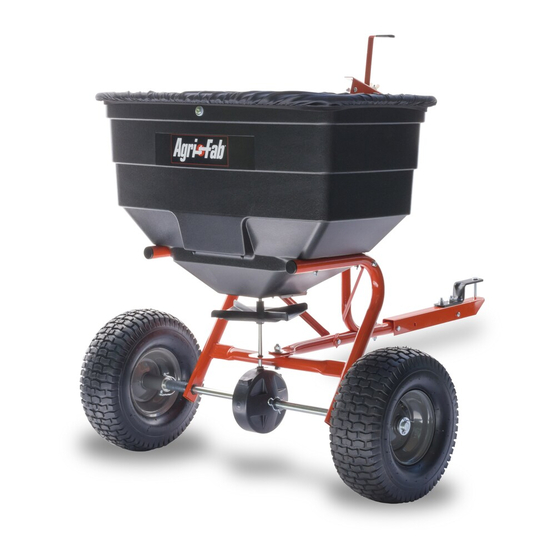
Agri-Fab 175 Руководство пользователя - Страница 5
Просмотреть онлайн или скачать pdf Руководство пользователя для Разбрасыватель Agri-Fab 175. Agri-Fab 175 12 страниц. Agri-fab 175 broadcast spreader owner's manual

9. Assemble the short spacer tube and a 1-5/8" flat washer
onto the end of the axle that has the large hole. See
figure 4.
10. Place the drive wheel (bolt hole through hub) onto the
axle so that the air valve is to the outside. Secure the
wheel to the axle with a 1/4" x 2" hex bolt and a 1/4"
nylock nut. See figure 4.
1/4" x 2"
HEX BOLT
AIR VALVE
DRIVE WHEEL
1/4" NYLOCK NUT
FIGure 4
11. Turn the spreader upright on its wheels.
12. Attach the hopper strap to the front and rear of the
hopper using two 1/4" x 1" hex bolts, 5/16" flat washers,
nylon washers and 1/4" nylock nuts. See figure 5.
HOPPER STRAP
FIGure 5
1-5/8" DIA.
FLAT WASHER
SHORT SPACER TUBE
1/4" NYLOCK NUT
NYLON WASHER
5/16" FLAT WASHER
1/4" x 1" HEX BOLT
13. Assemble the hitch bracket to the top of the hitch tube
using two 3/8" x 1-1/4" hex bolts and 3/8" nylock nuts.
See figure 6.
14. Assemble the hitch pin through the hitch bracket and
the hitch tube and secure with the hair cotter pin. See
figure 6.
HITCH PIN
FIGure 6
15. Assemble the flow control link (end with small hole) to
the flow control arm using a 1/4" x 1" hex bolt, a nylon
washer and a 1/4" nylock nut. Tighten the nut until the
flow control link pivots with a slight resistance. See
figure 7.
FLOW CONTROL
LINK
1/4" x 1"
HEX BOLT
SMALLEST
HOLE
NYLON
WASHER
FIGure 7
5
3/8" x 1-1/4"
HEX BOLT
3/8" LOCK
WASHER
3/8" NYLOCK NUT
HAIR COTTER PIN
FLOW
CONTROL
ARM
1/4" NYLOCK NUT
