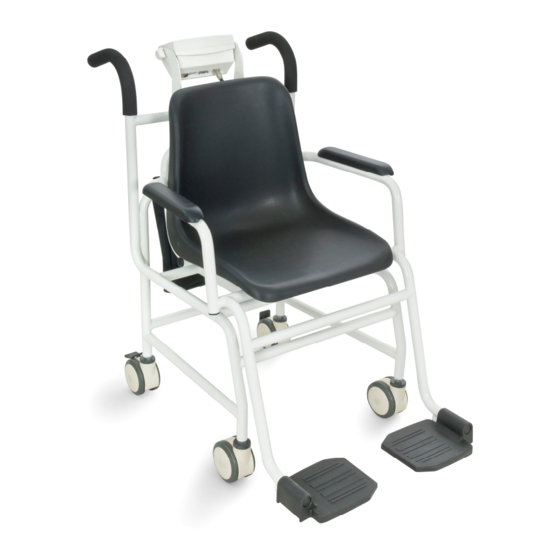
ADE M403020 Руководство по эксплуатации - Страница 7
Просмотреть онлайн или скачать pdf Руководство по эксплуатации для Весы ADE M403020. ADE M403020 16 страниц. Class iii approved scales electronic chair scales

Housing and connections
The mains adapter connection, serial port connection and connection to the weighing cell are located on the
back of the ADE indicator housing. The set-up switch to start configuration mode is recessed underneath the
housing. It is protected by a cover plate and secured by a screw (not shown in Fig. 2-1).
Do not use the set-up button as otherwise calibration will be lost. This procedure is only al-
lowed to be done by authorized service personnel appointed by ADE (GmbH & Co.). Any unau-
thorized manipulations made to the configuration mode will affect the warranty agreement.
Modes of operation
Weighing mode
The "weighing mode" is of course the standard mode of your scale. After initial configuration and sealing (by
attaching a calibration sticker to the back of the unit), the ADE-scale can only be operated in this mode.
Setting mode
Date, time and consecutive numbers for print commands are being set in this mode. To start setting mode,
hold the GROSS/NET key pressed until TIME appears on the display.
Configuration mode (set-up mode)
The values for different parameters including the calibration could be set in the configuration mode. This func-
tion is reserved for authorized service personnel only.
Test mode
There are different diagnostic functions for the ADE-MAK in test mode. This is reserved for service personnel
only.
Manipulations to test and configuration modes can revoke the calibration status and will result
in loss of warranty!
Settings
The following functions are available in setting mode:
–
Select the serial interface,
–
Set date, time and consecutive printout numbers.
–
Set print format.
–
Set switching points.
–
Test functions
The setting mode is not designed for the input of metrological parameters. Access the function menu by press-
ing the CLEAR (13) key until TIME appears on the display. Use the key pad (13) to navigate within the menus,
to select numerical values and to increase or lower the values. Press the ENTER key to save the values en-
tered and to return to the super ordinate menu level.
M403020-210322-Rev006-UM-e
7
