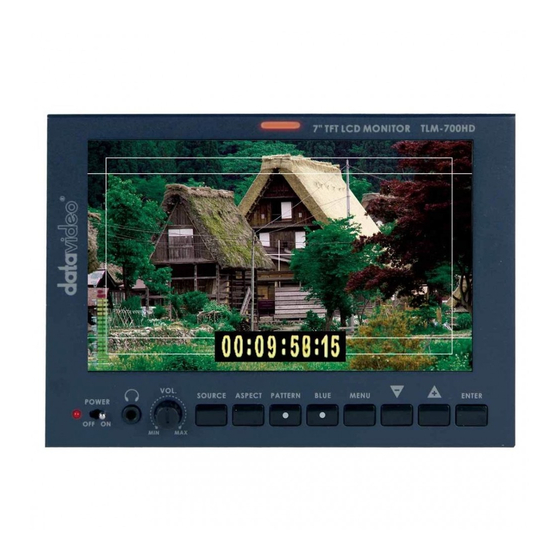
Datavideo TLM-700HD-P Руководство по эксплуатации - Страница 12
Просмотреть онлайн или скачать pdf Руководство по эксплуатации для Монитор Datavideo TLM-700HD-P. Datavideo TLM-700HD-P 20 страниц. 7" hd/sd tft lcd monitor

3. Menu Options
3.1 Picture (Screen Setup)
Picture Setting
Press the MENU button once to display the Picture setting menu.
Press the ENTER button to highlight the Brightness setting.
Press the UP or DOWN button to highlight the setting that needs to be adjusted.
Brightness
Press ENTER button to select the Brightness setting.
Press the UP or DOWN button to adjust the Brightness value between 0 and 100.
Press ENTER button again to save and return to the Picture setting menu; now
highlight another Picture setting to be adjusted. To select a different setting
(Contrast, Saturation, Tint, Color Temp*) use the UP / DOWN buttons. Follow the
same procedure to set the other values.
Keep pressing the MENU button to cycle through the main menu options.
Press the SOURCE button to exit the menu mode.
* N.B.: Color Temp can be set to 9300, 7500, 6500, 5400 or USER RGB values.
3.2 Audio (Audio Indicator)
Press the MENU button twice to display the Audio setting menu.
Press the ENTER button to highlight the Indicator setting.
Press the ENTER button again to toggle the on screen audio indicator ON/OFF.
Keep pressing the MENU button to cycle through the main menu options.
Press the SOURCE button to exit the menu mode.
3.3 Function (Center Mark, Safety Zone)
Press the MENU button three times to display the Function setting menu.
Center Mark
Press the ENTER button to highlight the Center Mark setting.
Press the ENTER button to toggle the on screen Center Mark ON/OFF.
Safety Zone
Press the UP or DOWN button to highlight the Safety Zone setting.
Keep pressing the ENTER button to cycle through the values 80%, 90% or OFF.
Press the UP or DOWN button to exit the Safety Zone setting. To select a different
setting (4:3 Screen, Cinema Zone) use the UP or DOWN buttons. Follow the same
procedure to set the next setting.
12
