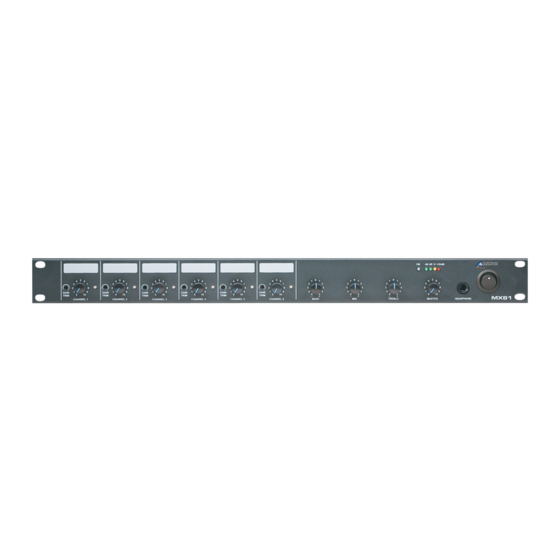
AUSTRALIAN MONITOR MX61 Руководство по установке и эксплуатации - Страница 8
Просмотреть онлайн или скачать pdf Руководство по установке и эксплуатации для Музыкальный микшер AUSTRALIAN MONITOR MX61. AUSTRALIAN MONITOR MX61 12 страниц. 6 channel mic/line mixer

BASIC SETUP & OPERATION
The inputs of the MX61 can accommodate a wide range of sources
including dynamic microphones, DVD and CD players. The output
may be used to drive power (booster) amplifiers, other mixers or
mixer amplifiers.
Each installation will require setting the appropriate relative mix of
levels between microphones and program. Because of the variation
in levels between the possible sources, the MX61 offers a number
of gain stage adjustments so you can set the correct levels for your
application. Also consider what the output is driving. . .
Setting up correct gain structure through the whole system is
important to achieve optimal results. The following step by step
procedure has been devised to assist during the setup process.
When the MX61 was shipped to you from the factory, it was set up in
a particular way. In the following procedure it is essential that you are
starting from these initial settings.
• Program Input Gain Controls – half (12 o'clock)
• XLR Mic/Line switch – MIC
• XLR Phantom power - on
• Input Level Controls – off
• Output Level Control – off
PAGE 8
STEP BY STEP SETUP
1
CONNECT THE SOURCES
First connect all the required sources to the appropriate input
connectors. If the source is a microphone, set the MIC/LINE
switches to the "MIC" position. If the source is an electret
or condenser microphone, set the phantom switch to the
"P/P on" position.
2
CONNECT THE OUTPUTS
Turn the amplifiers off. Connect the MX61 output to the amplifiers'
line level input. Check that the MX61 is on, and then turn on the
amplifiers. If the amplifiers have a level control, set them it to a
sensitivity of 0dBu. If in doubt, set it to maximum.
3
TEST THE INPUT LEVELS
For each source, try to achieve the highest signal level possible.
i.e. for a CD player, cassette deck or other music source, put on
the loudest anticipated program music or for a paging mic make a
'loud' page. During this signal condition, the input status LED should
light green and may occasionally turn red for a short period.
If the status LED stays red (more than 10% of the time), you
should reduce the input gain trim. If the status LED never turns
red at all, you may wish to increase the input gain trim if required.
4
SET THE LEVELS
Turn the input levels up to 5. Turn up the output level until it is at
an appropriate level for the listening environment. You will now
have to adjust the relative levels of the inputs to achieve a good
balance. The aim of these adjustments is to have all level
controls at between 3 and 7. This may not be possible however.
A good rule of thumb is that input level controls should be higher
than the output level controls.
MX61 INSTALLATION & OPERATION MANUAL
