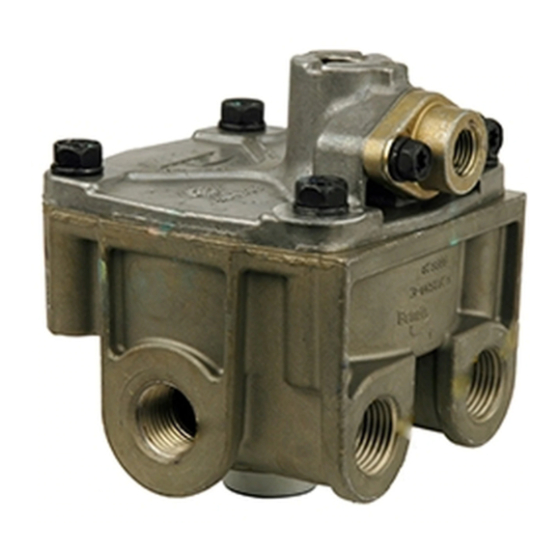
BENDIX R-12DC Служебные данные - Страница 5
Просмотреть онлайн или скачать pdf Служебные данные для Блок управления BENDIX R-12DC. BENDIX R-12DC 8 страниц. Relay valve with biased double-check
Также для BENDIX R-12DC: Руководство (8 страниц), Инструкции по установке (4 страниц)

Figure 6 – Bendix
R-12DC
®
REMOVAL AND INSTALLATION
REMOVAL
1. Block and hold the vehicle by means other than the air
brakes.
2. Drain the air brake system reservoirs.
3. If the entire valve is to be removed, identify the air lines
to facilitate reinstallation. Prior to disassembly, remove
as much contamination as possible from the exterior of
the device taking care to keep all contamination from
entering the open ports.
4. Disconnect the air lines from the valve* .
5. Remove the valve from the reservoir or, if remotely
mounted, remove the mounting bolts and then the
valve.
*It is generally not necessary to remove the entire valve
to service the inlet/exhaust valve. The inlet/exhaust valve
insert can be removed by removing the snap ring, exhaust
cover assembly and then the inlet/exhaust valve.
Caution: Drain all reservoirs before attempting to remove
the inlet/exhaust valve.
BRAKE PEDAL
POSITION
HELD
BRAKE
CHAMBERS
MAINTAIN
APPLICATION
Valve Balance Position
®
AIR PRESSURE
FROM BRAKE
CHAMBERS IS
EXHAUSTED
HERE
Figure 7 – Bendix
R-12DC
®
DISASSEMBLY
Note: Prior to disassembly, mark the location of the
mounting bracket to the cover and the cover to the body.
CAUTION: The valve body may be lightly clamped in a
bench vise during disassembly, however, over-clamping will
result in damage to the valve and result in leakage and/or
malfunction. If a vise is to be used, position the valve so
that the jaws bear on the supply ports on opposing sides
of the valve's body. Refer to Figure 8.
1. Remove the four cap screws securing the mounting
bracket and cover to the body. Retain the cap screws
for reuse.
2. Discard the mounting bracket.
3. Remove and discard the sealing ring (7) from the cover
(1).
a. Remove the two Torx
check cover (6) to the cover (1).
b. Remove the double-check cover (6) from the
valve cover (1) and remove and discard the spring
(2), guide (3), double-check diaphragm (4), and
o-ring (5).
BRAKE
PEDAL
RELEASED
AIR PRESSURE
ABOVE RELAY
VALVE IS
EXHAUSTED
HERE
BRAKE
CHAMBERS
RELEASED
Valve Exhaust Position
®
screws securing the double-
®
5
