Dymo Electronic Date/Time Stamper Руководство пользователя - Страница 5
Просмотреть онлайн или скачать pdf Руководство пользователя для Принтер Dymo Electronic Date/Time Stamper. Dymo Electronic Date/Time Stamper 8 страниц. Dymo electronic date/time stamper user's guide

NOTE: If you go past the current year, you will
need to press the LOCK button to cycle
through the year 2189, and back up to
the current year.
4. Once you are finished setting the Date and
Time press the SET/EDIT button to return to
normal display.
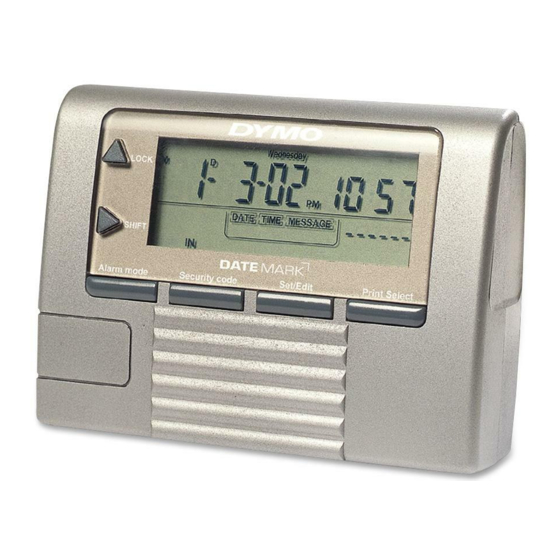
5. The Date/Time Stamper is now ready to print.
The stamper will print the current date, time,
and message as displayed.
The IN message is printed by default. To select a
different message press the SHIFT button to
cycle through the 7 available messages.
Stamping / Printing Options
If you want to customize which fields your
stamper prints, follow the instructions below.
REMINDER: Whenever the unit is in
"program mode" and a button is not pressed
for 10 seconds, the unit will revert to normal
display.
8
1. Press and hold the Security Code button for
2 seconds.
2. Press LOCK to set the first digit of the code,
then SHIFT to move on to the next digit.
Repeat this step until all digits of the code
are entered.
3. Press SECURITY CODE to return to normal
display, and if the "key" icon will disappear.
NOTE: If the incorrect security code is entered,
until will prompt the user to re-enter
code. The user has 3 tries to enter code.
If you have forgotten the code, remove
the batteries to reset.
Maintenance and Troubleshooting
How to refill the Ink Roll
1. Remove the ink roll
compartment door.
2. Use a pair of tweezers
figure 5
(see Figure 5)
13
