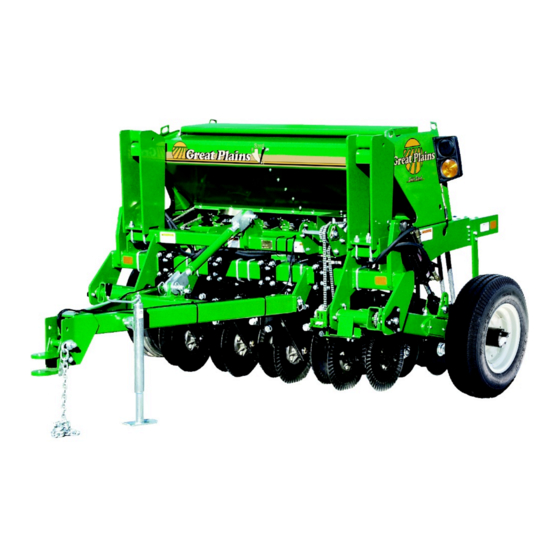
GREAT PLAINS 606NT Руководство по техническому обслуживанию - Страница 5
Просмотреть онлайн или скачать pdf Руководство по техническому обслуживанию для Сельскохозяйственное оборудование GREAT PLAINS 606NT. GREAT PLAINS 606NT 7 страниц. Six foot no-till drills
Также для GREAT PLAINS 606NT: Руководство по установке (6 страниц)

6) Locate the desired seeding rate for the type of seed on the chart in the owner's
manual or on the lid of drill. The drill uses a four-position gear box..
A) Set the drive type for the seed and rate desired.
B) Loosen wing nut on seed rate adjustment handle and move it past the required
number and then back to the correct number on the brass plate.
C) Check seeding rate by running the calibration procedure outlined in owner's
manual or on the seed rate chart of drill lid.
NOTE: The gear box has four different drives. If the chart does not have the desired
rate for that drive type on the chart, then follow the drive ratios in the following chart.
MAIN SEEDBOX DRIVE TYPE RATIOS
Drive Type 2 is 2.01 times faster than drive 1
Drive Type 3 is 3.01 times faster than drive 1
Drive Type 4 is 5.01 times faster than drive 1
7) Heavy duty down pressure springs are standard equipment. The "W" clips are shipped
from the factory in the bottom hole and should be left there in all applications. The
"W" clips can be raised one hole in the wheel tracks in extreme conditions. NOTE: If
the "W" clips are raised too high, spring pressure increases accordingly. This will take
away weight available to penetrate the coulters.
8) The depth of each opener is controlled by the height of the press wheel. Varying the
height of the press wheel changes the seeding depth of the opener. Moving the "T"
handle to the front of the opener shallows the depth; moving the "T" handle
towards the rear of the opener increases the depth.. For a starting point place the
"T" handle in center.
9) With the 605NTdrill in the raised position adjust the drive clutch (the clutch
should be fully disengaged). The cam plates will be on top of each other, and the
jaws of the clutch will be fully separated. When the drill is lowered to planting
position, the jaws of clutch should be fully engaged.. To adjust, loosen bolts on
clutch tab, slide tab forward or rearward to change and retighten bolts.
