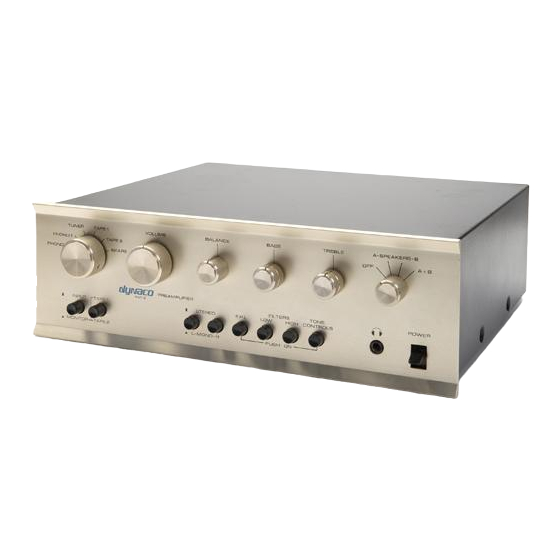
DYNACO PAT5PWR Руководство по сборке - Страница 15
Просмотреть онлайн или скачать pdf Руководство по сборке для Усилитель DYNACO PAT5PWR. DYNACO PAT5PWR 18 страниц. Replacement power supply rev e hardware

Remove the four screws (two in each bracket) that hold the silver colored
power supply mounting brackets to the power supply PCB.
Installing the New Power Supply
Figure 11-Mount new PCB to shield and mounting brackets
Pull the Preamp's AC plug and wait 1 minute before going on.
Mount the new power supply to the zig-zag shield using four 4-40 screws
into the power supply mounting brackets.
Return the zig-zag shield and power supply assembly into the chassis.
Use two of the silver colored 4-40 screws and nuts to fasten the power
supply mounting brackets to the bottom of the chassis.
Use two silver colored 4-40 screws and nuts to fasten the zig-zag shield to
the front panel. It's hard to get your fingers in place to hold the nuts. I like
to hold the nut in place using double sided tape wrapped around the blade of
a flat screw-driver. I then use a second screw-driver to turn the screw.
Use four (2 on each side) ¼" hex head self tapping screws to fasten the back
panel to the chassis bottom. Make sure that the back panel sits just inside
the lip on the bottom of the chassis.
Use two silver colored 4-40 screws and nuts to fasten the zig-zag shield to
the back panel.
Remove the old power supply
Installing the new power supply
Page 15 of 18
Done? ()
Done? ()
