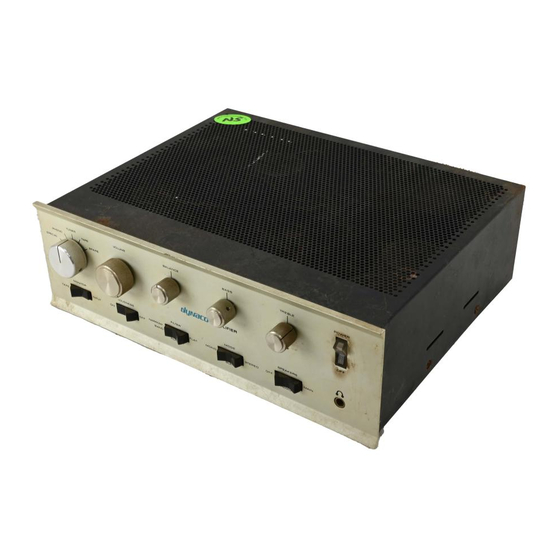
DYNACO SCA-80Q Руководство по сборке - Страница 3
Просмотреть онлайн или скачать pdf Руководство по сборке для Усилитель DYNACO SCA-80Q. DYNACO SCA-80Q 15 страниц. C9 replacement
Также для DYNACO SCA-80Q: Руководство (12 страниц)

Section 1: About This Manual
If your SCA80 hums more than it should, there's a very good chance that both C9 and
C11 should be replaced.
This manual gives the information you need to build and install a replacement for C11
and the associated components in the SCA-80's power supply. Compared to the original
power supply, the replacement power supply should give better sound. Here's why:
It has 940 µF of bulk filtering of the 71 Volts for the power amp driver stages
(compared to 700 µF in the original)
It has a regulator to produce an accurate (≈plus or minus 5%), low noise 24 volt
supply for the preamp high level stages.
It has another regulator to produce an accurate low noise 17.5 volt supply for the
phono preamp stages.
The regulators maintain the 24 and 17.5 volt supplies steady in the face of
changing line voltage and load conditions. That keeps the amplifier stages'
operating points more consistent, and reduces distortion.
The outputs have less noise and hum. That reduces the hum and noise that you
hear.
Installing the C11 kit can make your SCA80 sound better than new.
Other SCA-80 Upgrades
You can also upgrade your SCA80 with the SCA80C9 kit. It replaces the original 5000
µF 80 Volt C9 with 9900 µF at 80 Volts. This increase in capacitance can let your
SCA80 deliver more bass with less distortion. You will often find that both C9 and C11
must be replaced for best results.
Who Should Attempt these Projects?
You can build this kit if you can:
1. solder (using normal rosin core solder and a soldering iron).
2. use simple hand tools like screwdrivers, wire cutters, and pliers.
3. read and follow directions.
It helps if you:
1. know a bit about electronics, or
2. have a friend who knows a bit about electronics
3. can get to YouTube to watch a few helpful videos about the assembly process (not
available as of this version of the manual)
Tools You'll Need
You'll need the following tools:
1. flat blade screwdriver for #6 screws
2. needle nose pliers (helpful, but not strictly necessary)
Page 3 of 15
