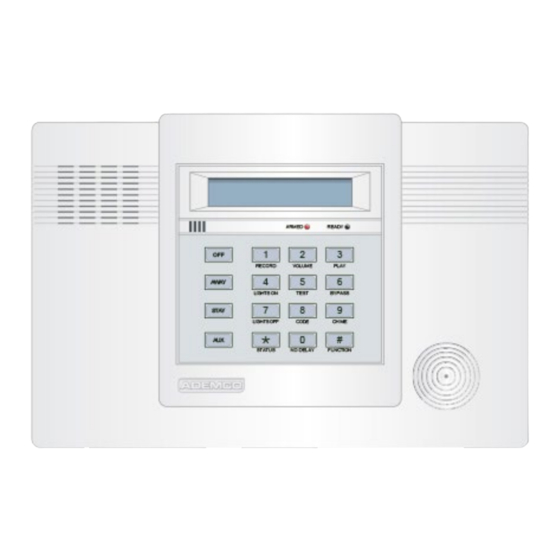
ADEMCO LYNX Краткое руководство по эксплуатации - Страница 3
Просмотреть онлайн или скачать pdf Краткое руководство по эксплуатации для Система безопасности ADEMCO LYNX. ADEMCO LYNX 8 страниц.
Также для ADEMCO LYNX: Руководство пользователя (17 страниц), Руководство по системе (14 страниц)

7.
Enroll transmitter serial numbers by pressing *83 while in Programming mode, then follow the
prompts:
%
Enter the first 2-digit zone number to be entered, then press [*]. Starting with this zone,
the system will search for the first transmitter which has all of the following attributes pre-
programmed in Zone Programming.
a)
Make sure the correct input type was selected in *56 (RF, UR, or BR programmed)
b)
Make sure the correct loop number was selected in *56
c)
No serial number programmed
d)
Zone type
If the first zone number entered does not have one or more of the above attributes, the
system will search its database for the first zone that does, and will display it at the
ENROLL SERIAL NUMBER prompt "1b".
Pressing 00 exits mode, upon which the prompt "83" blinks, indicating the mode is
inactive. Press [*] + any field number to go to that field.
% zz
If " L " is displayed, the serial number for this transmitter has already been entered,
however, it may still be confirmed, viewed or deleted.
% 0'
If the transmitter's serial number has not been previously entered, you may enter the
enroll serial number mode now by entering "1", or copy the last serial number that was
entered by entering "2".
If the transmitter's serial number has been previously entered, it may be viewed by
entering "3" or deleted by entering "9". If view is selected each digit will be re-displayed,
and the keypad will beep once for digits 1-6, and three times for the last digit.
Once the serial number has been entered by either selecting a "1" or a "2", you will return
to this prompt with the " L " on the display. At that point you may fault and restore the point,
and the panel will be listening for the transmission. The serial number/loop number
combination that was entered can be confirmed by faulting and restoring the zone being
entered. If a transmission is received that matches the serial number and loop number
entered, the keypad will beep three times, and a "C" will be displayed indicating that the
received serial number transmissions has been confirmed to match. No further
transmissions will be received. When confirming a 4-button key, only the serial number is
confirmed, since it assumed that all loops are used. Pressing any key will allow a confirm.
* Two beeps indicate the template has been accepted.
** A single long beep indicates illegal entries, or duplicate serial number/loop entry
When the last zone has been entered, the display will remain on that zone. To exit this
mode and return to data field program mode, press 00 at the ZONE NUMBER prompt
When all zones have been programmed, test each zone using the system's Test mode.
Do not use the Transmitter ID Sniffer mode for this, since it will only check for
transmission of one zone on a particular transmitter, and not the zones assigned to each
additional loop.
b
zz
Manually enter the 7-digit serial number printed on the transmitter. If you enter an
incorrect digit, press the [#] key to backup to prompt (1A) and start over.
b
When all 7 digits are entered, press the [*] key. If the serial and loop number combination
is already present in the system, or if less than 7 digits are entered, the keypad will emit a
single long beep and return to the (1A) prompt with displaying the "L".
If more than 7 digits have been entered, the first 6 digits will be saved along with the
last digit that was entered (entering 123456789 yields the serial number 1234569).
If 30 seconds passes and no entry has been made, the system returns to prompt (1A).
*
This function deletes just the serial number, or all zone information that has been
programmed for the zone.
Page-3
