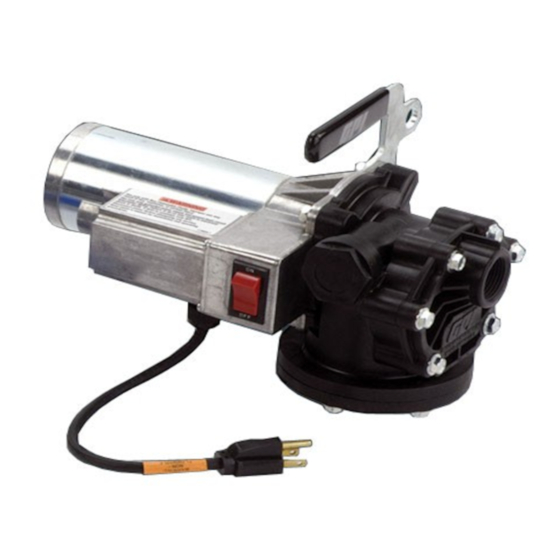
GREAT PLAINS P-120DEF Руководство пользователя - Страница 7
Просмотреть онлайн или скачать pdf Руководство пользователя для Водяной насос GREAT PLAINS P-120DEF. GREAT PLAINS P-120DEF 16 страниц. Plastic utility pump

Clean or Replace Strainer
1. Disconnect pump from power and flush.
2. Remove the coverplate and O-ring from the housing.
3. Remove the inlet strainer.
4. Clean or replace the strainer. Install again.
5. Install the coverplate and O-ring. Torque screws to
25 to 35 in-lbs.
Clean or Replace Inlet Fitting
1. Disconnect pump from power and flush.
2. Remove the inlet fitting from the pump housing.
3. Clean or replace the inlet fitting. Install again. Torque
screws to 45 to 50 in-lbs.
Clean or Replace Bypass Poppet
1. Disconnect pump from power and flush.
2. Remove the bypass poppet plug.
3. Remove the bypass poppet. Gently rock it back and
forth as necessary to remove.
4. Wipe the cavity clean and wash the bypass poppet
in very pure deionized water.
5. Examine all components and replace as necessary.
6. To replace the poppet O-ring, carefully remove the
O-ring using a small screwdriver or similar tool. Seat
O-ring on the poppet head.
7. Assemble by placing the bypass poppet assembly
in the cavity. Tighten the plug firmly.
Replace Motor
1. Disconnect pump from power and flush.
2. Remove the screws holding the motor and handle
to the housing.
3. Lift the motor from the housing and drive shaft.
4. Remove the motor shaft adapter from the drive shaft.
5. If replacing the motor only, remove the power cord
using instructions below.
6. Assemble by reversing the steps above. Make sure
the motor is properly seated against the motor adapter
seal. Torque the four screws to 75 to 100 in-lbs.
Replace Switch
1. Disconnect pump from power and flush.
2. Remove the switch coverplate on the side of the
motor.
3. Press in on the sides of the switch. Push the switch
from the switch box.
NOTE: Before disconnecting wires, note their positions
on the switch. Connect to the new switch in the same
positions.
4. Disconnect the terminal wires from the back of the
old switch.
5. Install the new switch by reversing steps above.
Carefully position wires in switch box before replacing
coverplate.
6. Install coverplate and tighten screws until snug. Do
not overtighten.
Replace Power Cord
1. Disconnect pump from power and flush.
2. Remove the switch coverplate on the side of the
motor.
3. Remove electrical tape and unscrew the wire nut.
Remove wire from terminal on back of the switch.
4. Remove the old power cord.
5. Install new power cord by reversing steps above.
6. Secure wire nut with two wraps of electrical tape.
7. Install coverplate and tighten screws until snug. Do
not overtighten.
Replace the Drive Shaft or Motor Shaft Seal
Follow these steps to remove the drive shaft and
motor shaft seal.
1. Disconnect pump from power and flush.
2. Remove the motor as described above.
3. Carefully slide the drive shaft from the motor and the
housing. Note the position of the motor shaft washer.
4. Carefully pry the motor shaft seal from the housing
with a flat-bladed screwdriver.
5. Inspect the drive shaft, motor shaft washer, motor shaft
seal, and bearings for wear. Replace, as necessary.
Follow these steps to install the drive shaft and
motor shaft seal.
1. Press the new motor shaft seal into the housing with
the same orientation as the old seal.
2. Position the motor shaft washer on the seal. Slide
the notched end of the drive shaft into place in the
housing.
3. Align the drive shaft with the motor adapter or the
planetary gear module. When properly aligned, the
drive shaft will slip into place with the motor against
the housing.
4. During assembly, make sure the motor is properly
seated against the motor adapter seal and the
housing.
5. Replace the screws fastening the motor and handle
to the housing. Use the two longer screws to secure
the handle. Torque to 75 to 100 in-lbs.
7
