GREAT PLANES Electrifly Rifle Руководство по эксплуатации - Страница 5
Просмотреть онлайн или скачать pdf Руководство по эксплуатации для Игрушка GREAT PLANES Electrifly Rifle. GREAT PLANES Electrifly Rifle 16 страниц.
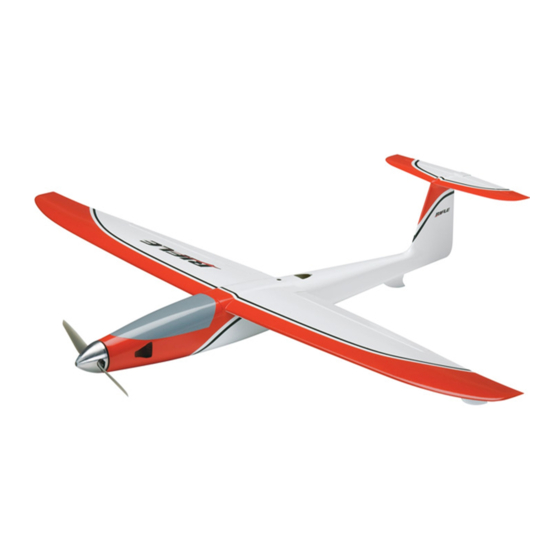
ORDERING REPLACEMENT PARTS
Replacement parts for the Great Planes Rifl e ARF are
available using the order numbers in the Replacement Parts
List that follows. The fastest, most economical service can
be provided by your hobby dealer or mail-order company.
To locate a hobby dealer, visit the Great Planes web site
at www.greatplanes.com. Select "Where to Buy" in the
menu across the top of the page and follow the instructions
provided to locate a U.S., Canadian or International dealer.
Parts may also be ordered directly from Hobby Services by
calling (217) 398-0007, or via facsimile at (217) 398-7721,
but full retail prices and shipping and handling charges will
apply. Illinois and Nevada residents will also be charged
sales tax. If ordering via fax, include a Visa
number and expiration date for payment.
Mail parts orders and payments by personal check to:
Hobby Services
3002 N Apollo Drive, Suite 1
Champaign IL 61822
Be certain to specify the order number exactly as listed in
the Replacement Parts List. Payment by credit card or
personal check only; no C.O.D.
If additional assistance is required for any reason contact
Product Support by e-mail at productsupport@greatplanes.
com, or by telephone at (217) 398-8970.
REPLACEMENT PARTS LIST
Order No.
GPMA2720
Wing
GPMA2721
Fuselage
GPMA2722
Horizontal Stabilizer
GPMA2723
Spinner Set
GPMA2724
Decal Sheet
Full-size plans are not available.
You can download a copy of this
NOTE
manual at www.greatplanes.com.
•
The stabilizer and wing incidences and engine thrust
angles have been factory-built into this model. However,
some technically-minded modelers may wish to check
these measurements anyway. To view this information
visit the web site at www.greatplanes.com and click on
"Technical Data." Due to manufacturing tolerances which
will have little or no effect on the way your model will fl y,
please expect slight deviations between your model and
the published values.
®
or MasterCard
Description
ASSEMBLY INSTRUCTIONS
Hook Up the Elevator
®
❏
1. Test fi t your elevator servo to the servo mount. If
necessary, trim the mount to fi t the servo—it will probably
be necessary to trim a portion of one of the blocks to
accommodate the servo wire.
❏
2. Place your servo in the mount and drill 1/16" [1.6mm]
holes through the blocks for the mounting screws.
❏
3. Mount the servo with the screws included with this kit
(or the screws that came with your servo).
❏
4. Remove the servo from the mount, add a few drops
of thin CA to screw holes and allow to harden. Remount
the servo.
The servo has to be centered before mounting the servo arm,
so temporarily hook up the radio and center the servo as
described...
5