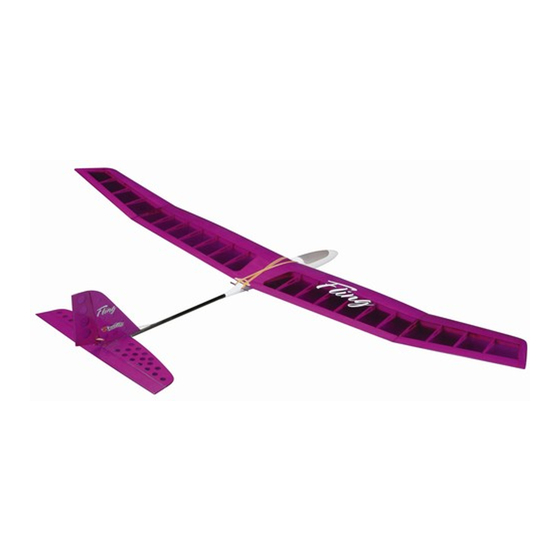
GREAT PLANES FLING Руководство по эксплуатации - Страница 9
Просмотреть онлайн или скачать pdf Руководство по эксплуатации для Игрушка GREAT PLANES FLING. GREAT PLANES FLING 16 страниц. Fling arf

Final Installation & C.G.
The receiver (Rx) and the battery should be all the weight
that is needed to set the correct C.G. On our test models
installing the Rx in front of the servos and the battery behind
the servos set the correct C.G. Also, to keep the weight low,
do not use a switch. Instead, plug the battery directly into
the Rx.
1. Secure the tow hook with a couple of drops of thin CA
applied to the threads from the inside of the plane. Note: Do
not glue the pushrod strings together.
2. Accurately mark the balance point on the bottom of the
wing on both sides of the fuselage. The balance point is
located 2-3/4" [70mm] back from the leading edge at the
fuselage. This is the balance point at which your model
should balance for your first flights. Later, you may wish to
experiment by shifting the balance up to 3/8" [9.5mm]
forward or 1/4" [6mm] back to change the flying
characteristics. Moving the C.G. forward will add some
stability but it will decrease the overall performance of the
sailplane. Moving the balance back makes the model more
agile with a lighter and snappier "feel" and improves the
sailplane's response to air currents. In any case, please
start at the location we recommend and do not at any time
balance your model outside the recommended range.
3. Temporarily place the servos, battery and Rx in the
fuse, and mount the wing and canopy. Check that the plane
balances at 2-3/4" [70mm]. Move the components until the
plane balances on that point.
4. Place a piece of 1/4" [6mm] foam in the bottom of the
fuse under the location of the battery. Slide the battery wire
forward in the fuse under the servos. Hold the battery in place
with a leftover piece of balsa and glue using medium CA.
5. Install the Rx in front of the servos, isolating it from the
fuse with 1/4" [6mm] foam.
6. Drill a 1/16" [1.5mm] hole in the bottom of the fuse in
the rear of the wing opening. Route the antenna through the
forward wing former and out the hole in the bottom of the
fuse. Tape the antenna to the bottom of the fuse.
GET THE MODEL READY TO FLY
Charge the Batteries
Follow the battery charging instructions that came with your
radio control system to charge the batteries. You should
always charge your transmitter and receiver batteries the
night before you go flying, and at other times as
recommended by the radio manufacturer.
Note: Checking the condition of your receiver battery pack
is highly recommended. All battery packs, whether it's a
trusty pack you've just taken out of another model, or a new
battery pack you just purchased, should be cycled, noting
the discharge capacity. Oftentimes, a weak battery pack can
be identified (and a valuable model saved!) by comparing its
actual capacity to its rated capacity. Refer to the instructions
and recommendations that come with your cycler. If you
don't own a battery cycler, perhaps you can have a friend
cycle your pack and note the capacity for you.
9
