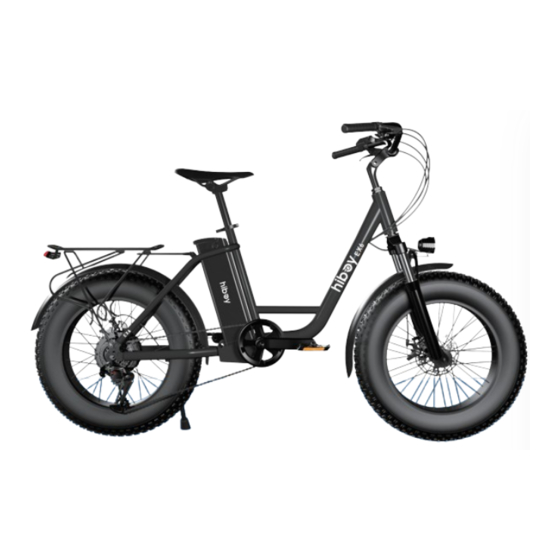
Hiboy EX6 Руководство пользователя - Страница 8
Просмотреть онлайн или скачать pdf Руководство пользователя для Скутер Hiboy EX6. Hiboy EX6 14 страниц.

How to Use The Display, Headlight & Horn
1. Press and hold for 3 seconds
to turn on the display. Your bike will be turned on. Press and hold for 3 seconds again to turn
off. The display will turn off automatically when there is no operation or riding for 5 minutes.
2. Short press the "+" or "-" button to change the boost level between 0-5 levels. 0 is the output power, 1 is the minimum boost, 5
is the maximum boost level.
3. Short press
to switch the display data of multi-function area when the display is on.
4. When the power is on, press and hold "-" to enter 3.7MPH/H towing mode; release "-" to cancel towing mode.
1. Press the light button to turn on/off the headlight
2. Press the horn button for horn control
12
4
. Start-up procedure
After the bike has been properly assembled according to the assembly video, all components are secured correctly, a certified, reputable mechanic has checked the
assembly, and you have read this entire manual, turn on the bike and select a pedal assist level following the steps below:
1. Test the battery lock security. Ensure the key port is aligned with the OFF icon, which indicating the battery is off and locked onto the frame mount. Carefully use both
hands to pull up on the battery to test that the lock is secure.
CAUTION: Getting onto the bike or riding it with the key in the battery can cause injury to your leg and damage to the key or lock mechanism. Always remove the key before
riding thelectric Bike.
2. Ensure proper handlebar and seat adjustment. Note that lowering the seat so the rider can put one or both feet flat on the ground without dismounting from the seat may
offer a safer and more comfortable introduction to operating the bike. Ensure the handlebar faceplate bolts and seatpost quick-release are fully and properly secured.
3. Turn the bike on. Insert the key and turn clockwise to the ON positon. Locate the LCD Display (near the left handlebar grip).
Hold down the LCD Display power for approximately 2 seconds until power is delivered to the LCD Display.
4. Try out your bell if you haven' t already! It' s an important safety tool for alerting others to your presence, especially when passing. The bell is integrated into the left brake
lever on your handlebar.
5. Select the desired level of pedal assistance (PAS) between level 0 through 5 using the + and - on the LCD Display.
Level 1 corresponds to the lowest level of pedal assistance, and level 5 corresponds to the highest level of pedal assistance. Level 0 indicates pedal assistance is inactive.
Start in PAS level 0 or 1 and adjust from there.
WARNING: Engaging the pedal assist feature, especially at a high setting, will cause acceleration that may be greater than expected, especially for relatively new riders, and
that can cause loss of control, serious injury, or death. To minimize risk, start at PAS level 0 or 1.
6. Begin riding carefully. With the proper safety gear and rider knowledge, you may now operate your bike.
On a flat surface, in a low gear (1 or 2), most riders should be able to begin pedaling the bike with pedal assist level 0 or 1. You may also use the throttle to accelerate and
maintain your desired speed.
7. Use the throttle (next to the right handlebar grip) by slowly and carefully rotating it toward the rider. Do not use the throttle unless you' re on the bike, and note that the
throttle can be activated with a twist any time the bike is powered on.
WARNING: Be careful not to accidentally twist the throttle, which can cause sudden acceleration. If you' re not prepared for this acceleration, you can lose control of the
bike, which can lead to serious injury or death. To minimize this risk, always keep at least one hand ready to squeeze the brake lever to cut off power to the motor. When you
dismount, power off the bike before moving it.
8: Please check tire pressure, tire tread, chain, power, shift, brakes, lights, spokes, pedals, and ensure safe riding before riding.
9: Rear rack maximum load 15KG.
13
