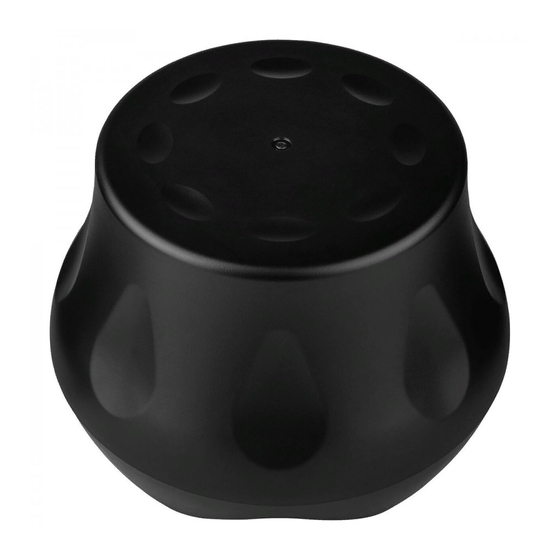
DaytonAudio IOSUB2 Руководство пользователя - Страница 3
Просмотреть онлайн или скачать pdf Руководство пользователя для Сабвуфер DaytonAudio IOSUB2. DaytonAudio IOSUB2 4 страницы. 10" ip66 indoor/outdoor 150w subwoofer with satellite speaker outputs black

5. Wiring Your Subwoofer
Once you have you have installed your subwoofer you are ready to connect it to your amplifier. Strip the
wire outer jackets back about 2" and strip each conductor back about ¼" to bare copper. See connec-
tion diagram below, locate the 4-conductor input cable and connect the left and right channels from your
amplifier. Locate the 2-conductor left and right speaker output cables, connect your satellite speakers to
these cables.
6. Caring For Your Subwoofer
Outdoor speakers and subwoofers are designed to withstand outdoor environments, including incidental
exposure to water. They are not designed to be washed using a pressure washer or hose nozzle. If debris
accumulates on the housing of the speaker, use a damp sponge or cloth to remove it.
7. Troubleshooting
Should your subwoofer not work properly, check the following:
No sound from speakers or quiet/strange sound:
• Make certain you observed proper polarity for both inputs and outs on the subwoofer. Check the
connections at the back of the amplifier, and then at the subwoofer
• Most stereo receivers have an A/B speaker selector switch. Make certain that this switch is in the
proper position, and that the proper audio source is selected.
• Mute feature or protection mode is activated. Check for short circuits in speaker wiring.
One speaker is playing while the other is not playing or plays quietly:
• Check the balance control on the receiver. Make sure it is centered.
• Loose connection at either the receiver or the speaker. Double check connections.
• Bad speaker cable. Replace suspect speaker cable.
Receiver cuts on and off:
• This could be caused by a short circuit between the positive and negative leads. Check the con-
nections at the back of the receiver, and then at the speaker; make sure that no strands of wire
from one connector is touching the other connector
3
