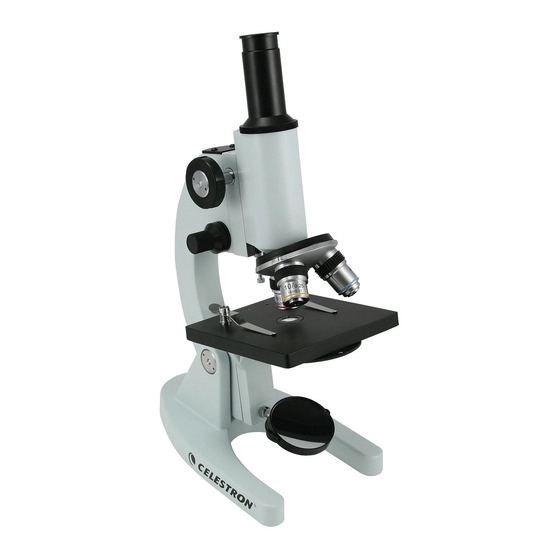
Celestron 44100 Руководство по эксплуатации - Страница 10
Просмотреть онлайн или скачать pdf Руководство по эксплуатации для Микроскоп Celestron 44100. Celestron 44100 20 страниц.

Adjusting the Arm Angle
The normal viewing position is at 0°. However, you can view at any angle from 0° to 60°. To change the viewing angle:
1. With one hand hold the base (7).
2. Then, with your other hand, tilt the arm (10) by pulling it backward or forward to the desired viewing angle.
Using the Electric Illuminator
Figure 3a
For more direct and intensive light, you should use the supplied electric illuminator. To install the electric illuminator:
1. Remove the mirror illuminator by pulling it outward from its sleeve. It will come out very easily with little pressure –
see Figure 3a.
2. You will install the electric illuminator in the sleeve you removed the mirror illuminator from – see Figure 3a.
3. Be sure the glass part of the electric illuminator (see Figure 3b) is facing up towards the stage (5).
4. Place the illuminator pin and clips over the sleeve and push until it is in all the way – see Figure 3c.
5. Plug in the cord of the electric illuminator to the proper AC power source – see Figure 3d.
Changing Eyepieces
Your microscope is supplied with both 10x and 12.5x eyepieces. They are easily interchanged:
1. Remove either eyepiece (1) from the eyepiece tube (2) by pulling it upward.
2. Install the desired eyepiece (1) into the eyepiece tube (2) by pushing downward.
3. The eyepieces are held in place by a friction fit.
Viewing a Specimen
Your instrument is provided with a mechanical stage with a stage holder clamp and directional knobs – see figure 3e.
1. Use the clamp lever to open the clamping arm of the stage holder clamp.
2. Place a specimen slide (3" size) inside the holder and gently close the clamping arm against the slide.
3. Use the stage movement knobs (see Figure 3e) to position the specimen over the opening in the stage (5).
You are now ready to focus and view the specimen, but first you must take some precautions so as not to damage the
specimen slide or objective lens. Your microscope is equipped with a safety rack stop (9) which allows you to regulate the
range of travel on the focuser. This assures that the objective lens will not accidentally come into contact with the
specimen slide, breaking the slide or scratching the objective lens. To adjust the travel on the focus mechanism:
4. Raise the objective lens away from the specimen stage (5) by rotating the coarse focus knob (3) backwards
(clockwise).
5. Unthread the safety rack stop screw (9) about 2/3 of the way.
6. Turn the nosepiece (12) until the 40x lens is over the specimen.
7. Lower the objective lens over the slide until the tip of the lens is slightly above the specimen slide. (Be careful not to
touch the objective lens to the slide).
8. Thread the safety screw (9) upward until it stops against the focus mechanism.
9. Rotate the knurled locking nut upward to lock the safety screw in place.
Figure 3b
Figure 3c
10
Figure 3d
