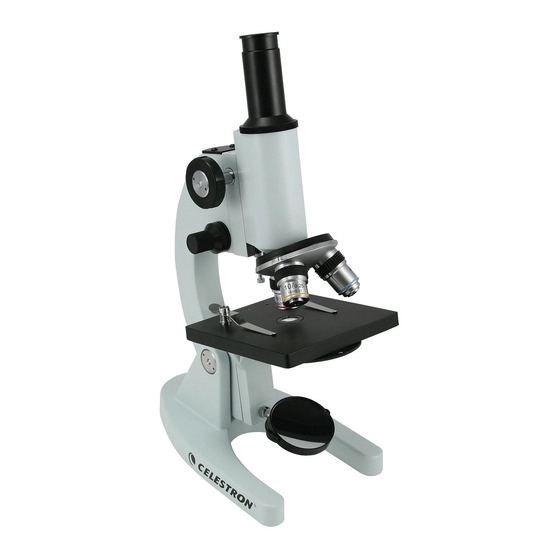
Celestron 44100 Руководство по эксплуатации - Страница 15
Просмотреть онлайн или скачать pdf Руководство по эксплуатации для Микроскоп Celestron 44100. Celestron 44100 20 страниц.

Using the LED Illuminator
Figure 4a
For more direct and intensive light, you should use the supplied LED illuminator. The LED illuminator is powered by three
AA batteries (user supplied).
1. Remove the mirror illuminator by pulling it outward from its sleeve.
2. The LED illuminator tube will thread counterclockwise on over the LED's in the base of the microscope – see Figure
4a. Turn the tube until finger tight – see Figure 4b.
3. Install the batteries – see the next section below.
4. After the batteries are installed, turn the power switch (13) to the "on" position.
5. Make sure that on the back of the microscope base that the switch is in the "Btry" position – see Figure 4c.
Installing Batteries for the LED Illuminator
Figure 4d
To install the three AA batteries:
1. Turn the microscope on its side.
2. With a small Phillips head screwdriver, remove the four screws/rubber feet at the bottom of the base and the screen
can then be removed – see Figure 4d.
3. Remove the two shiny Phillips head screws holding a bracket which keeps the battery box in place – see Figure 4e.
4. Slide open the battery box.
5. Install three AA batteries following the "+" and "-"indicators – see Figure 4f.
6. Close the battery box.
7. Replace the bracket holding the battery box in place with the two shiny Phillips head screws.
8. Replace the screen with the four Phillips head screws/rubber feet.
Figure 4b
Figure 4e
15
Figure 4c
Figure 4f
