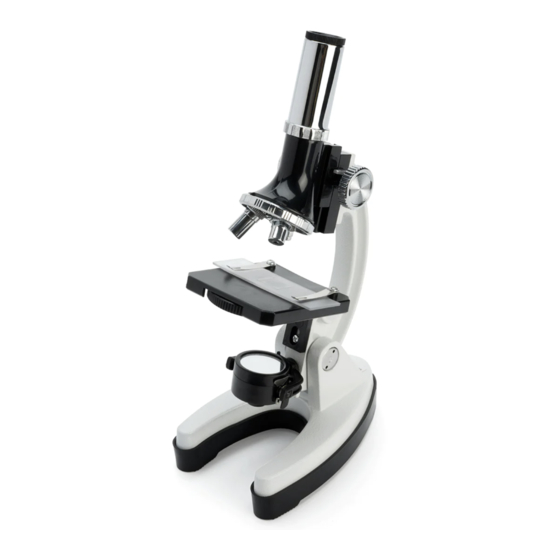
Celestron 44124 Руководство по эксплуатации - Страница 3
Просмотреть онлайн или скачать pdf Руководство по эксплуатации для Микроскоп Celestron 44124. Celestron 44124 17 страниц. Basic microscope kit
Также для Celestron 44124: Руководство по эксплуатации (10 страниц), Руководство по быстрой настройке (13 страниц)

4. At higher powers, your views will be greatly magnified but somewhat
darker. The most enjoyable views are seen at lower powers which have
a wider field of view and brighter illumination.
ILLuMInatIon
To achieve the sharpest and best views, proper illumination (lighting) must
be used:
1. To power the illuminator(s) on, turn the brightness control
switch (located on both sides of base).
2. The top illuminator is used for viewing at low power
(4x –objective lens) as higher powers (10x and 40x objective
lenses) will block some or all the light. If you need to use high
power to observe solid objects, use a bright secondary light
(desk lamp, etc.) for direct illumination.
3. The bottom illuminator is used mainly for viewing specimen
slides where light shines up through a hole in the middle of the
stage through the slide.
4. Having both illuminators on at the same time will provide
enough light for thick and irregular specimens.
adjuStIng the LIghtIng
Specimens of different sizes, thickness and color variations will require
different levels of illumination. You can adjust illumination by turning the
brightness control switches as needed.
When viewing a specimen that is not transparent or dark in color, you may
need to increase the amount of light to resolve certain features or details.
Increase illumination by turning the brightness control switches all the way
to their highest setting.
Optimum lighting is found by making adjustments and experimenting.
Each specimen may require slightly different illumination as well as same
specimens viewed under different magnifications.
When lighting is no longer needed, turn illuminators off to preserve battery life.
uSIng fILterS and dIaphragM
Before using Micro360, check and make sure no filters are in the optical
path. Viewing is normally conducted without colored filters. However,
to bring out increased levels of detail, experiment by using different
backlighting filter colors for very bright transparent specimens. To change
lighting color, rotate the filter wheel to the desired color – Red (R), Green
(G), Blue (B). Each color filter is centered once a faint click stop is heard or
felt. You may need to adjust the focus knob slightly for best results.
celestron
www.
.com
dIaphragM –
Within the filter wheel are three diameter openings –
(1) 1 mm, (3) 3 mm and (6) 6 mm, which limit the amount of light passing
through to the specimen. These openings are part of the diaphragm which
allows you to change diameter sizes to maximize contrast, brightness, etc.
The default setting is "6".
care, MaIntenance and warranty
Your Celestron microscope is a precision optical instrument and should
be treated with care at all times. Follow these care and maintenance
suggestions and your microscope will need very little maintenance
throughout its lifetime.
• When you are finished using your microscope, remove any specimens
left on the stage.
• Turn off top and bottom illuminators when you are finished using
your microscope.
• Remove batteries if you will not use your microscope for an extended
period of time.
• Store the microscope in a dry and clean place.
• Be very careful if using your microscope in direct sunlight to prevent
damage to the microscope or your eyes.
• When moving your microscope, carry it by the "arm".
• Clean outside surfaces with a moist cloth.
• Never clean optical surfaces with cloth or paper towels as they
can scratch optical surfaces easily.
• Remove dust with a camel's hair brush or use an air blower.
• To clean fingerprints off optical surfaces, use a lens cleaning agent and
lens tissue available at most photo outlets. While cleaning, do not rub in
circles as this may cause sleeks and scratches to occur.
• Never disassemble or clean internal optical surfaces. Repair work should
be performed by qualified factory technicians or other authorized
repair facilities.
• Use care when handling glass specimen slides, as edges can be sharp.
warranty
Your microscope has a two year limited warranty. Please see Celestron's
website for detailed information on all Celestron microscopes at
www.celestron.com.
3
